Plaster has been used to cover timber and masonry since ancient times. Early civilisations in India, China, the Middle East and Egypt used plaster as weatherproofing and to create a smooth surface for painting and the Romans developed decorative stucco work. During the Middle Ages, various substances such as horsehair were added to strengthen plaster and other products, including milk, urine and beer were used to make it more elastic. Decorative plasterwork became an important feature of the Baroque period, when it was moulded and shaped to resemble marble and stone.
In the modern period, interior plastering is more restrained and is designed to provide a smooth finish for painting or hanging wallpaper.
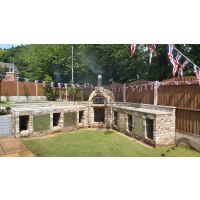
When you see a 'hole in the wall' or cassette stove, it looks clean and uncluttered. There is no distinct tile or brick surround like you would see in a fireplace. It is just there, in the wall. Looks can be deceptive. Like an iceberg, there is a lot going on below the surface; the interior of the cavity has to be properly lined, a chimney and flue system has to carry away exhaust gases and the wall around the stove needs a bit of special treatment to stay in good condition. It won't come as a surprise to know that a stove gets very hot and that some of the heat is transferred to the surrounding wall. Ordinarily, living room walls are covered with a layer of standard plaster and then painted or papered. This plaster contains a high level of gypsum. However, ordinary plaster will not do- if it is subjected to high temperatures, it starts to dry out and crack and will eventually fall off.
Why do we need Heat Resistant Plaster and Render?
Gypsum plaster, or plaster of Paris, is a mineral compound, calcium sulphate dihydroxide. When heated, much of the moisture is removed leaving a substance easily ground into a fine powder which starts to reform into a solid with the addition of water. Gypsum plaster is resistant to heat at low temperatures but if it is heated above 50°C, the water content is gradually lost and it hardens, cracks and starts to fall away.
To prevent this, the walls around a cassette stove, adjacent to a free standing stove, range cooker or in any other area that is subject to high temperatures, use special heat resistant plaster which is able to withstand up to 650°C, and render, protecting up to 1400°C.
How to use heat resistant plaster and render?
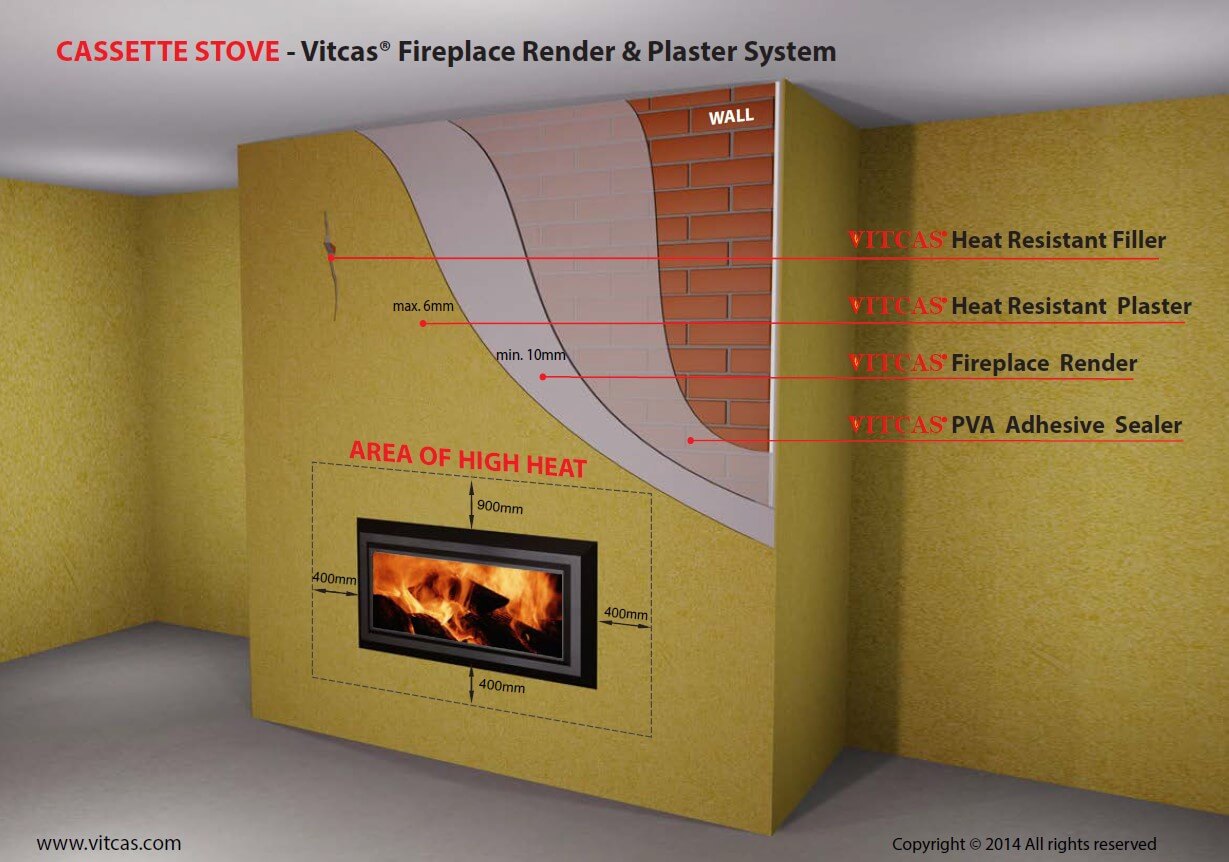
Heat resistant plaster provides a thin finishing layer of up to 6mm. Although it has many similarities with ordinary gypsum plaster and when finished, it looks similar, heat resistant plaster must be handled somewhat differently to obtain the best results. When you are setting a stove into an existing chimney breast, you can use either fireplace render or to fireplace construction board. However, the simplest solution is to use the render and plaster system over the front surface.
These are the following steps for a fool-proof finish:
Step 1: Cleaning surface
The first step to ensure the best results is to remove all traces of old plaster from the chimney breast and from all your tools and equipment such as mixing buckets, as any traces of gypsum can contaminate the heat resistant plaster, form clumps and cause it to set too quickly.
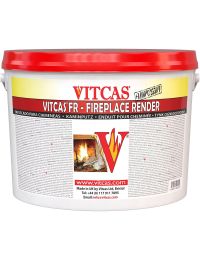
Step 2: Render
Once the masonry has been exposed and cleaned, apply a layer of fireplace render. Clean cold water should be used to achieve a good trowelling consistency.
The render should be applied to a slightly dampened surface to the desired thickness. A scratch finish provides a key for the adhesion of the plaster. Before proceeding to apply the plaster, the render must be allowed to dry out.
Leave the render for three days to dry out thoroughly at temperatures of at least 20°C, then you can apply the plaster. Although 3 days is recommended, the required time will vary according to the temperature and relative humidity.
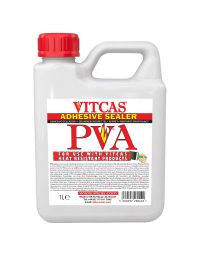
Once the render is dry, a layer of adhesive sealer should be applied.
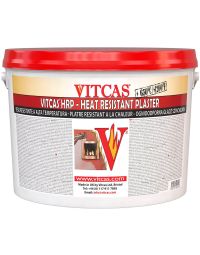
Step 3: Plaster
When the adhesive sealer becomes tacky, it is ready for plastering to a maximum thickness of 6mm. The plaster forms a dense layer when dry which cannot be sanded down, so it is vital to trowel it to a smooth finish on application.
The plaster needs at least three days to dry thoroughly, to a pale grey, and the fire or stove should not be used until this time. It is generally advised to run the stove at a moderate heat for short periods and to build up the fire gradually.
Finally, heat resistant paint is available to add a decorative finish to the fireplace/stove.