Cooking is an essential part of our daily lives, but it can come at a cost. Traditional cooking methods often require large amounts of fuel, leading to deforestation and air pollution in order to cook an entire meal.
In many developing countries, the use of an open fire or inefficient stoves is the norm, leading to respiratory problems and other health issues. However, a simple solution exists: the rocket stove.
What is a Rocket Stove?
A rocket stove is a type of stove that uses a small, efficient combustion chamber to burn fuel. It was originally designed for use in developing countries as a way to reduce fuel consumption and minimise the negative environmental impact of cooking. The rocket stove is also a time saver for those in developing countries as it removes the extra effort which would need to be expended in order to collect more wood.
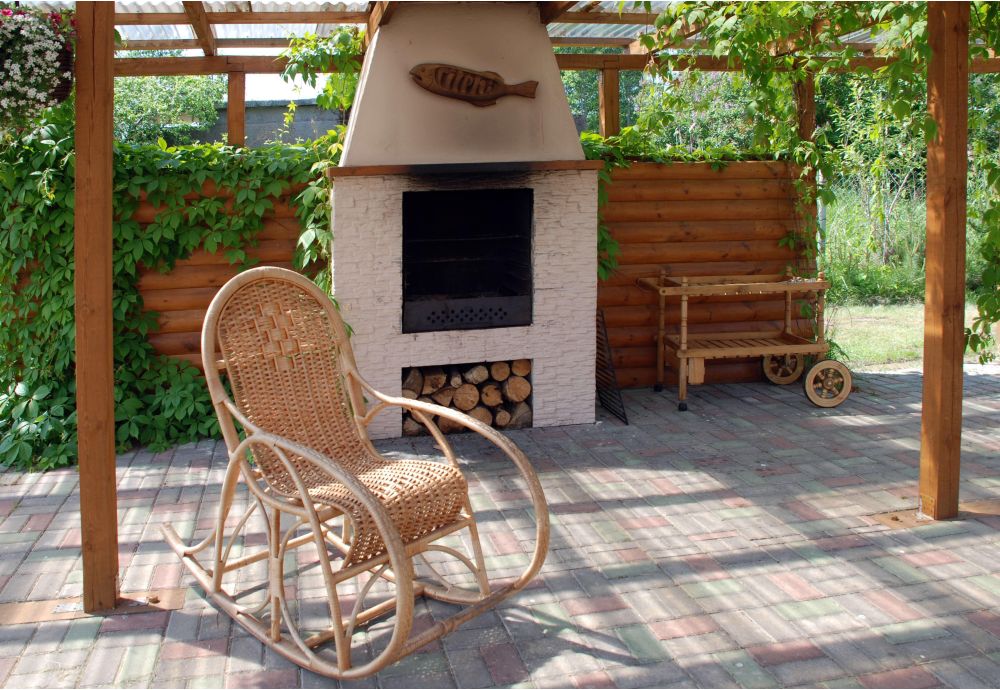
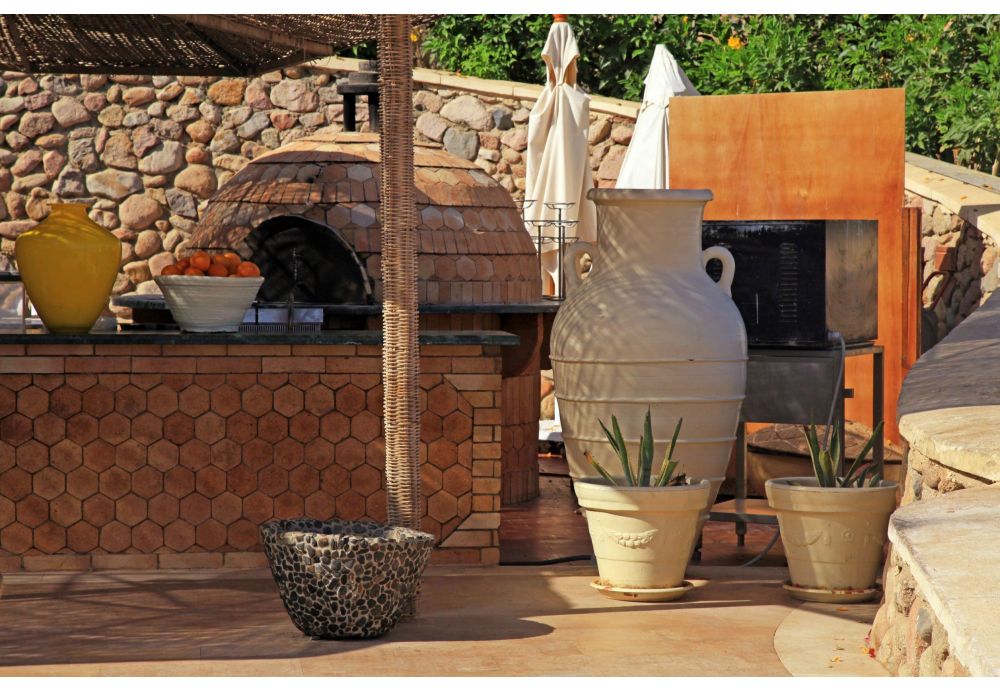
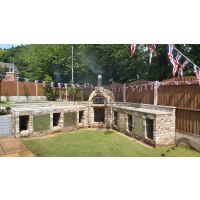
The rocket stove is named for its shape, which resembles that of a rocket, with a vertical chamber leading to a horizontal chimney. The rocket stove provides a stable place for you to place a cooking pot and hence acts as a perfect appliance for garden parties or backyard barbecues. It also acts as an effective heater by providing warmth with minimal smoke production.
While we may associate the rocket stove exclusively with camping fires, the modern take on the rocket stove can be more sophisticated and stationary. However, the portable stove is still an option for enthusiasts of camping adventures. This eco-friendly heater draws inspiration from the traditional Dakota fire hole concept, providing users with a convenient and sustainable method of heating their living space.
How does it work?
The rocket stove's design allows for complete combustion, which results in reduced fuel needed to produce the same amount of heat. The combustion chamber is insulated, which helps to maintain high temperatures and prevent heat loss.
Air is drawn into the chamber through a small opening at the base of the stove, which creates a natural draft that pulls in oxygen and feeds the fire. The fuel is burned cleanly and efficiently, resulting in less ash, smoke and fewer emissions.
Benefits of Rocket Stoves
There are many benefits to using a rocket stove to cook. For one, they burn efficiently, which means that less fuel is needed to cook the same amount of food. This makes them ideal for use in developing countries, where fuel is often scarce and expensive.
Additionally, rocket stoves do not produce much smoke and emit less emissions than traditional cooking methods, which can lead to improved respiratory health for those who use them.
Another benefit of diy rocket stoves is that they can be made from locally available materials, which makes them affordable and easy to repair. They can be constructed using a variety of materials, including bricks, clay and metal. This means that people can use materials which are available in their communities instead of having to source materials from elsewhere, which comes with environmental costs. There is flexibility as they can build their own stoves and tailor them to their specific rocket stove design.
Rocket stoves can also be used to generate electrical power. By adding a small generator to the chimney, the stove can produce enough energy for lights and small appliances. This is especially useful in areas without access to grid electricity or gas.
Step By Step Guide To Build Your Own Rocket Stove

Materials you need to build a DIY rocket stove:
- Rocket stove plans
- Metal can (tin cans, such as a coffee can)
- Sheet metal
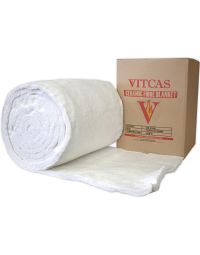
- Insulation material (perlite, vermiculite, or ceramic fibre)
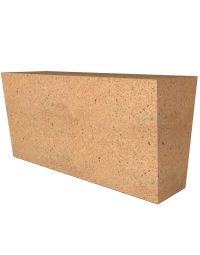
- Firebricks
- Grate or mesh screen
- Tin snips or metal cutters
- Drill with a 1-inch bit
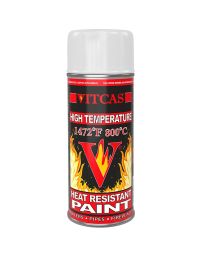
- High-temperature stove paint
- Wood fuel (e.g. firewood or small fuel sources from the ground, such as branches or twigs)
Step 1: Prepare the can
Choose a metal can that is large enough to serve as the outer casing of the rocket stove. For example, a coffee can or a large paint can would work well. Use tin snips or metal cutters to cut off the top of the can. Be sure to remove any labels or glue residue from the can and clean it thoroughly.
Note that it may be useful to use rocket stove plans to aid you in the construction process. Rocket stove plans can be found online.
Step 2: Cut the sheet metal
Using the tin snips or metal cutters, cut a piece of sheet metal to create a tube that will serve as the combustion chamber. The diameter of the tube should be slightly smaller than the diameter of the can, and the height should be slightly shorter than the height of the can. For example, if you're using a coffee can that is 6 inches tall, the chamber should be around 5 inches tall. Use the tin snips to cut the sheet metal to the correct size, and then roll the metal into a tube that fits inside the can.
Step 3: Cut holes
Using a drill with a 1-inch bit, drill four or five evenly spaced holes around the bottom of the can. Each hole will serve as an air intake port for the combustion chamber. The size and number of holes can be adjusted depending on the size of the can and the desired airflow.
Step 4: Install insulation material
Place a layer of insulation material at the bottom of the can. Perlite, vermiculite, or ceramic fiber can be used for insulation. The insulation should be about 1 inch deep, and should cover the bottom of the can. This insulation layer will help to retain heat and improve the stove's efficiency.
Step 5: Install the sheet metal tube
Insert the sheet metal tube into the can, making sure it fits snugly. The tube should extend about 1 inch above the top of the can. The combustion chamber will be located inside the sheet metal tube.
Step 6: Add the grate
Place a grate or mesh screen on top of the sheet metal tube. This will serve as the support for the fuel. The grate should be positioned just above the top of the combustion chamber.
Step 7: Add firebricks
Place firebricks around the grate to make a combustion chamber for your brick rocket stove. The firebricks should be placed on edge, so that they form a narrow gap between the bricks and the side of the can. The bricks should be arranged in a circle around the grate, leaving a small gap between each brick to allow air to flow into the chamber.
Note that fire bricks are better to use than cinder blocks or breeze blocks. Fire bricks are designed to withstand high temperatures and thermal shock, which makes them more durable than cinder blocks. In contrast, cinder blocks may crack or break when exposed to high temperatures or rapid changes in temperature.
Step 8: Add insulation
Fill the gap between the firebricks and the side of the can with insulation material. The insulation should be packed tightly to prevent air from escaping. This layer of insulation will help to keep the heat inside the combustion process, allowing the stove to burn efficiently.
Step 9: Paint the rocket stove
Paint the rocket stove with high-temperature stove paint. This will help protect the stove from rust and corrosion. High heat resistant paint is designed to withstand the high temperatures generated by the stove.
Step 10: Test the rocket stove
Test the rocket stove by adding some small pieces of wood, twigs or other fuel and light it up. If the stove is working properly, it should produce a clean, hot flame. Adjust the airflow by opening or closing the intake ports to control the intensity of the flames.
Once you're satisfied with the stove's performance, you can use it to cook, boil water or for heating in emergency situations.
If you wish to cook on the rocket stove, simply fire it up using wood or twigs, place a pot on the rocket stove and continue preparing your desired meal as you would on any other cooker. You can make all kinds of delicious meals from stews, stir fries, roasted meats to baked and dough-based delicacies.
Conclusion
The rocket stove is a simple but powerful technology that has the potential to improve the lives of millions of people around the world. By using fuel efficient and clean burning rocket stoves, less smoke and fewer emissions are produced. Being easy to construct and maintain, rocket stoves are a sustainable solution to the problem of traditional cooking methods.
They are already being used in many parts of the world, but there is still much work to be done to ensure that everyone has access to this life-changing technology. Though the rocket stove is not always a portable stove, especially the more heavy duty type, it is nonetheless very practical end easy to use. It facilitates faster cooking and can act as a source of keeping warm, in lieu of the traditional open flame.
By investing in rocket stoves and promoting their use, we can ensure a more sustainable future for all.