Who doesn’t like pizza? No matter where you are from, you must love sizzling hot pizza right from the pizza oven. Pizza has slowly become an important component of our social lives, and we enjoy it while watching a film, having a social gathering, office meetings, and while enjoying Netflix in the middle of the night. Pizza is just one call or click away from our taste buds.
However, have you ever thought of building your own wood-fired pizza oven at home? You will not be the first. A lot of people love to create their food, and pizza is one of them. While a lot of people use their electric or gas oven to do it, some people want to do everything on their own and opt for a brick pizza oven in their own garden. It may sound highly challenging and tedious, but it is quite an easy task with the help of clear and easy to follow DIY steps.
You can easily create a pizza oven in your garden. You can shop for the best fire bricks, and get started on creating your brick pizza oven today. All of the items, products, and things required for the creation of your wood fired pizza oven can easily be purchased from the online shopping store. Let’s take a look.
Why Should You Use a Wood Fired Pizza Oven?
You may be wondering about the benefits of using an outdoor wood-fired pizza oven over a traditional standard oven. Well, your pizza oven will not only be able to make the pizza quickly, but it will also retain the natural taste of all the ingredients involved. This makes for a unique experience. You can have a tasty and delicious pizza ready in a matter of minutes once you have a hot oven waiting.
Moreover, a brick oven also maintains the natural nutrients of the food, which offer health benefits to eating pizza. You can also cook other things in the garden pizza oven, and this oven will also save your money on utility bills while offering a lot of perks.
Where to Build Pizza Oven?
Well, you can create a brick pizza oven in your own back garden, but we recommend that you do it away from the trees. It will avoid any unforeseen circumstances in the future. Just pick an empty spot somewhere near a wall or in the middle of your garden, build a little shed to keep it dry during the wet weather, and start with your DIY pizza oven.
How do Outdoor Pizza Ovens work?
A wood-fired oven's prime concept is very basic. In the middle of the oven, a wood fire is started to heat the inner dome. Even after the flame is consumed, the oven must retain heat to establish optimal cooking temperatures. A wood-fired pizza oven is designed to keep the heat evenly between 300-400 Degree C temperatures over long periods. You can start cooking as soon as the oven is up to temperature and just do it! It's so fast that it can offer a delicious hot pizza in under an hour.
How to Reheat Pizza in Oven?
You can easily reheat the leftover pizza in the oven. Just place a baking sheet in the garden pizza oven. Once you have placed the sheet, set the oven to 190oC to reheat properly without sacrificing any taste.
Put the pizza slices on the hot baking sheet once the oven has been preheated, and bake them for about 10 minutes.
You should opt for five additional minutes in baking time for bigger or thicker slices, with more toppings. Pizza slices can also be put on aluminum foil, then baked for 10 to 15 minutes. Pizza can also be reheated in a toaster, although the cheese coating may not melt as uniformly as it would in a traditional oven.

How to Build Your Own Pizza Oven in the Garden?
So, you have finally decided to create your wood-fired pizza oven in your garden. Congratulations. The next step is to understand what you will need, how to use it, and what DIY steps to take to easily construct your own fully functioning pizza oven.
Items Required
Let’s take a look at some other items that you will require to build your own DIY Pizza Oven successfully.
Materials for Stand:
Concrete blocks 440mm x 215mm on three sides : 35
Firebricks 230mm x 64mm on three sides : 200
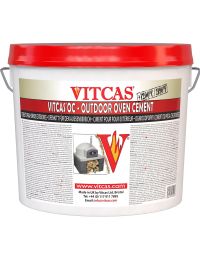
3 x 20kg Outdoor Oven Cement
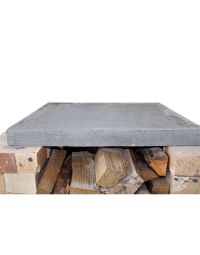
Concrete Slab on the top : 1 bag cement / 2 bags sand / 3 bags gravel
Railway Sleepers 2.6m x 250mm : 2
Materials for the base of the oven
For a brick base: about 40 bricks 230x114x64mm
For a Heatproof Screed Base at 25mm thick: 2 x 20kg Heatproof Screed
Materials for the Dome of the oven
Insulation
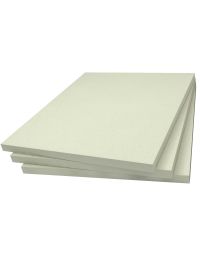
Underneath the base of the Oven: 1 x Ceramic Fibre Board 1200 x 1000 x 50mm
On top of the dome: 1 x roll of Ceramic Fibre Blanket 1260 Grade 7.32m x 610mm x 25mm
1 roll of Oven Wire
3 x 20kg Outdoor Oven Cement
250 Fire bricks 230mm x 64mm
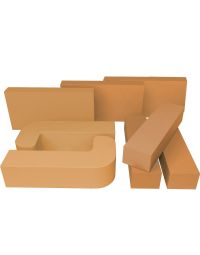
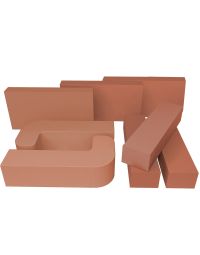
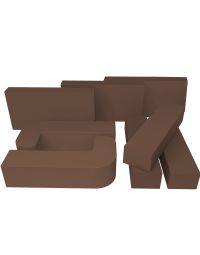
34 Arch fire bricks
Step 1: Build the Initial Stand and Plinth for The Oven
This process should take about 3 to 5 hours to be finished. This is your oven's base, so it has to be strong. The plinth structure can be built from stones, breeze blocks, or wooden sleepers depending upon your preference.
Clear the chosen area and then dig a 120 cm x 120 cm wide shallow trench. Use commercial cement when constructing the structure from bricks, or base plates. If you have decided to use wood for the plinth, screw the pieces together into a square. Your ultimate goal is to create a large square box approximately 1m high and 120 cm square in shape for your brick pizza oven.
There are a few ways to create a support base for the oven. One option is to use paving slabs for the base, another is to cast a concrete base onto a non-combustible surface to form the base, or you could use railway sleepers as support. For the latter, it would still be advisable to put a non-combustible material such as stone or concrete on top of the sleepers to create a safe oven floor.
Step 2: Design Considerations for the Oven
The base of the oven can be constructed from a layer of Heatproof Screed or from a layer of fire bricks but in any case, you must put some insulation material down on the stand first before constructing the base of the oven. A 50mm thick ceramic fibre board is ideal for this purpose.
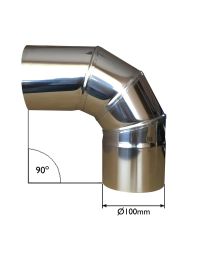
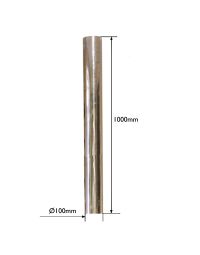
The top of the oven door and the base of the chimney should not be more than two thirds of the full height of the oven. If you put these outlets too high you will lose all your heat straight up the chimney or straight out of the door!
The dome of the oven itself can be built using firebricks or by using heatproof screed over a former which can be as simple as a pile of wet sand or a sophisticated wooden supporting structure. At the end of the project it is very satisfying to set fire to this supporting structure as this is the easiest way to remove it.
Finally think about the door and the chimney – if you have something in mind then the opening for the door should be built to accept your door for example. Of course it is not strictly necessary to have a door at all depending on your method of cooking – we will discuss this later.
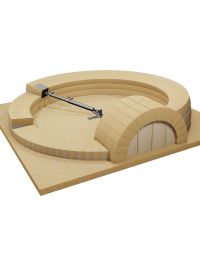
Step 3: Create The Oven Dome
So you have the base of the oven with insulation underneath it and now its time to build the dome.
a) Building the dome from bricks.
Without any supporting structure the dome can be built from bricks, placing one row at a time and waiting for the mortar to set before placing the next row. This takes much longer than if you have a supporting structure so then you can place all the bricks in one go and remove the support when the mortar has set.
In either case we suggest using standard 230x114x64mm firebricks cut into halves. Place these bricks so that they touch on the inside with a tapering gap to the outside and fill the gaps with Heatproof Screed.
b) Building the dome from a Layer of Heatproof Screed
The simplest way is to make a pile of wet sand shaped exactly as you like the interior shape of the oven to be. Cover it with a thin sheet of polythene and then start to trowel the screed on to it starting from the base and working upwards to the centre of the dome.
Of course, you can use an exercise ball or a wooden former but the principle is the same. Let the structure dry out for a couple for days and then remove the support.
Step 4: Make an Entrance for Your Wood Fired Pizza Oven
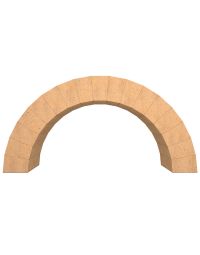
The entrance can be made by using a set of arch bricks or you can buy a precast doorway arch and incorporate that in to the structure.

Step 5: Dry out the oven and Build the Insulation Layer
Before closing the surface of the oven with the insulation layer you should have two or three slow fires in the oven to make sure that the materials are properly dried out. More about curing pizza oven you will find in our blog.
If you used bricks to build the dome you might want to render the outside smooth with some more heatproof screed. Then cover the outside of the dome with ceramic fibre blanket at least 25mm thick. Use the oven wire mesh to keep it in position while you render over it with Outdoor Oven Cement to around a thickness of 10mm.
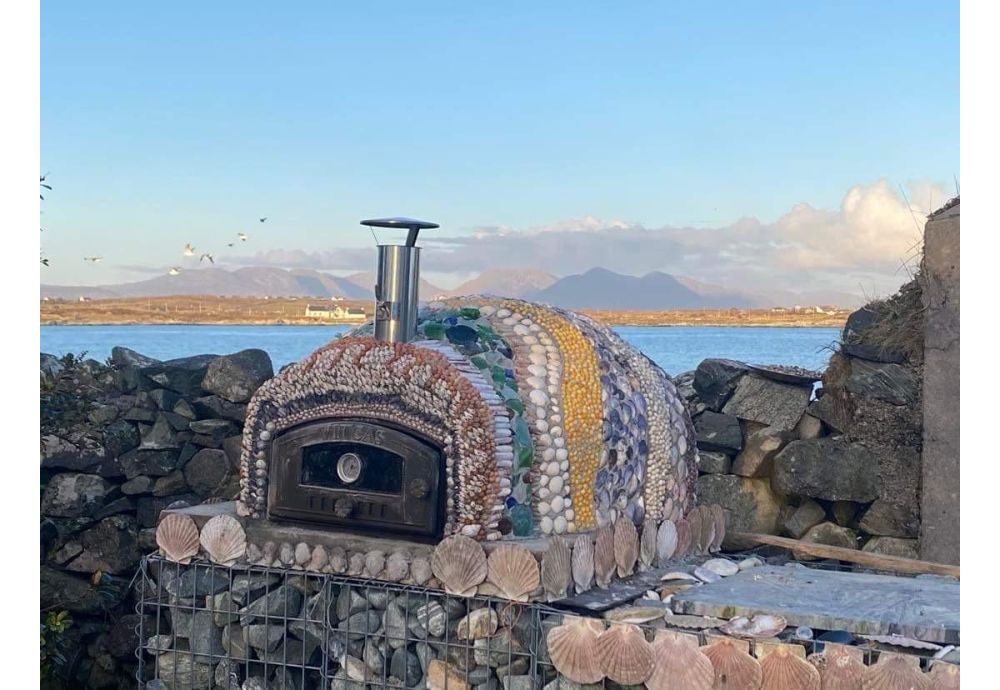
This layer can be painted with an outdoor masonry paint at this stage or you might want to make a more elaborate decoration by tiling the outside of the oven for example. The possibilities are only limited by your imagination!
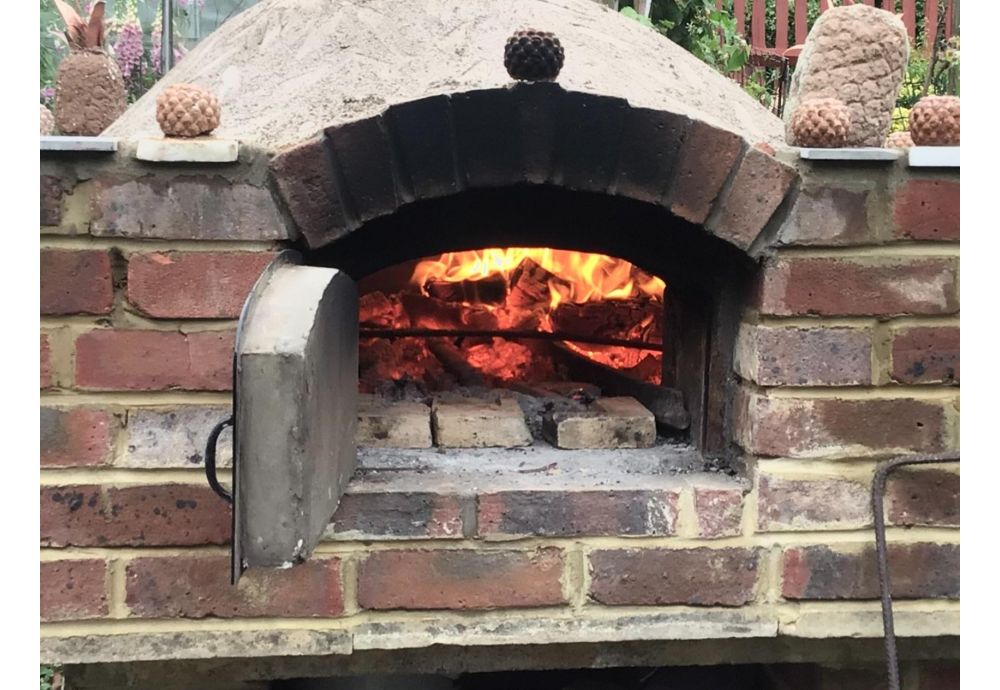
Step 6: Firing and Using the Oven
Before you start to use the oven in earnest and especially if you are planning an inaugural party, you must learn how to use pizza oven the right way. It's important to have fired the oven two or three times to get the hang of how it works.
Start the fire with kindling sticks in the centre of the oven. Don’t be afraid to make this a big fire and don’t worry if the fire fills the oven at the start. Once it gets going you can start putting the wood on it. Kiln dried hardwood is the best and if you have the choice take beech.
Split the quarter round logs down once again with an axe and start building the fire. You need to set the red hot ash glowing at the base of the fire before moving it around the outside of the oven so that you can start cooking on the hot base.
If you want to do pizzas then the hotter the oven the better. It doesn’t make sense to try and cook many pizzas at the same time as it only takes a few minutes per pizza. So in the time that you are preparing the next pizza you could have cooked the first one.
To get the oven hotter, increase the air flow to the fire. To maintain the current temperature, reduce the airflow and close the damper.
On the other hand if you are baking bread it is important to keep a steady temperature for the whole of the 40 minutes or so that it takes to bake a loaf. If the temperature gets to high the bread will burn on the outside and in the middle will still be dough.
The best way is to get the temperature towards 300 degrees C and then pull the fire out. The bread is baked in the retained heat of the oven. In this case its important to close the damper, close the door and close the air slide fully to keep as much heat in as possible.
There are many other possibilities for cooking in your new oven. Slow cooked lamb is always a favourite along with other food cooked in a clay pot.
A large part of the fun of the project is trying different things until you find what works the best.