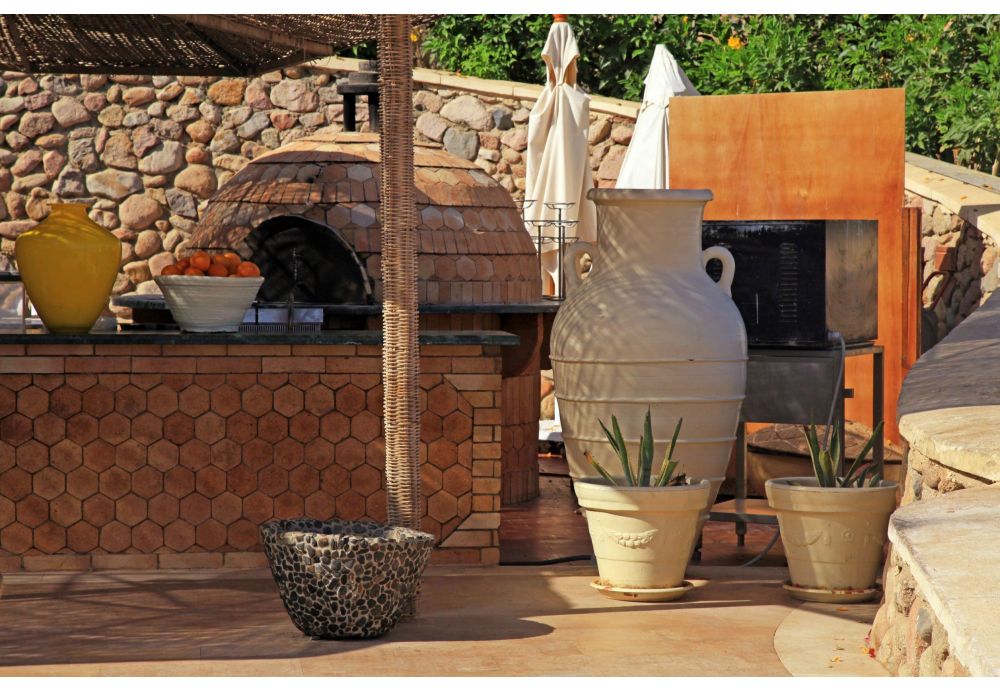
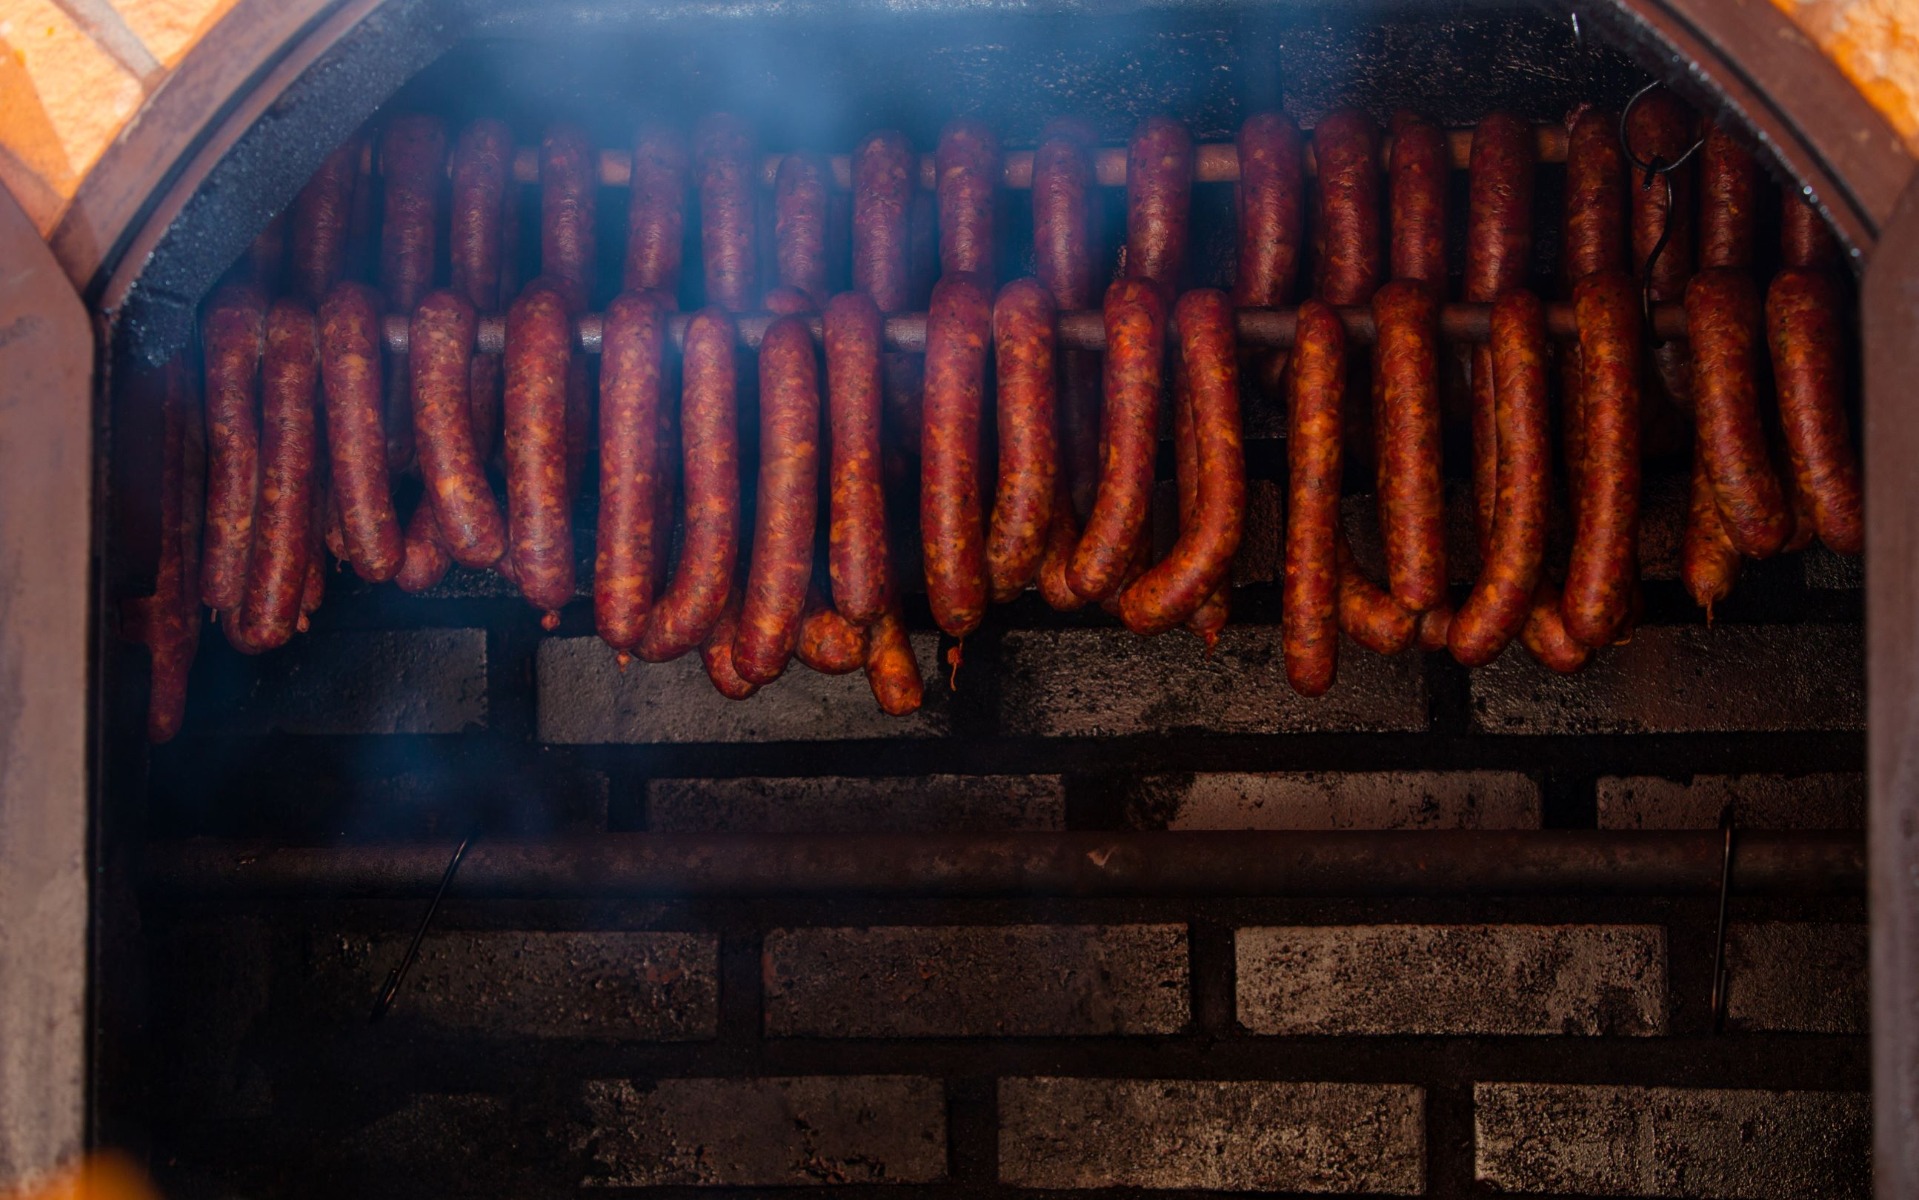
If you love your meat tender and juicy, then you need to get your own smoker. There’s something especially appetizing about the taste of cured and smoked meat served right from your brick barbeque.
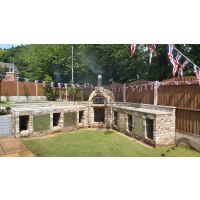
A new smoker is an excellent addition to your back garden and a fantastic way to spend quality time with your friends and family. They are easy to build and you don't need a large space to store your barbeque. A backyard brick barbeque, if built well, can last a very long time and enhance your garden’s appeal.
Of course, you can always purchase a BBQ or outdoor oven right from the store but they are generally pricey. You don't need to be a professional to build your own brick smoker. With just a few tools and skills, you can have your own brick smoker in no time. Besides, there’s something oddly gratifying about relishing the meat you cooked yourself on your DIY smoker.
You need not look anywhere else. This guide is all you need. Here’s everything you need to know about building your own bbq design which will prove to be a great project and plenty of fun.
Important PrecautionsBefore you build your own barbecue smoker, it’s important that you follow certain vital precautions so that there are no untoward incidents:
|
Finding The Right Site For Your Smoker
The first thing you need to do is find a site for your brick barbecue smoker. Keep in mind that since it’s a brick barbecue smoker, you won't be able to move it around once it’s built. You need to make sure that it’s near your kitchen so that you can easily fetch the things you need but at the same, it shouldn't be so near that the smoke blows into your house. Strike the right balance.
If you need more mobility in the cooking process in your garden, you should try to build mobile pizza oven.
You must consider having it near a seating area so that you can converse with your guests while cooking. However, ensure that smoke isn't going to affect the surrounding areas or make your guests uncomfortable. The process should be fun and enjoyable.
Lastly, think about the path to the site of the new smoker. For aesthetics, you can simply excavate a small section of the path and fill it with shingles. You can also consider lining up some stepping stones.
Building The Base
Ensure your barbecue is well anchored to its base. If you don't already have a patio to use, you'll need to construct one with concrete or slabs. In order to avoid subsiding or sinking, the base must be sturdy and level.
When you are constructing your base, keep in mind that you will have to stand in front of the brick smoker when cooking. The base should cover enough space so that you can comfortably work behind it.
The Size Of Your Smoker
After choosing the right space, you need to decide the size of your brick barbecue smoker. This will depend on what and how much you want to cook. The size of your smoker will also decide the number of bricks and paving slabs you need. The paving slabs for the roof and base.
Tools and Items You’ll Need
- Flat piece of wood/pipe or angle iron
- A grill tray (stainless steel is highly recommended)
- A charcoal tray (again, stainless steel is the best choice)
- Water spirit level
- Fire bricks (for good heat retention)
- A stick (for mixing)
- A cement spatula
- Heat resistant mortars
- 8 paving slabs
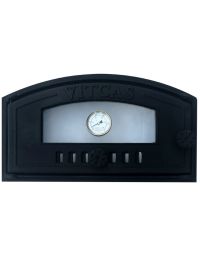
- Cast iron doors
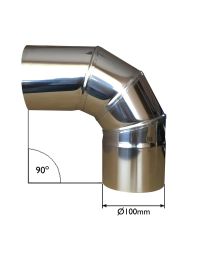
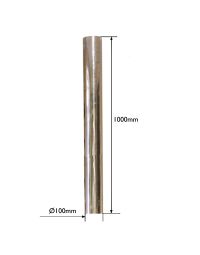
- Chimney flue
Make sure that all the parts, tools, and items are nearby so that it’s easier and more convenient for you to reach out to them while building your brick barbecue smoker.
Step By Step Guide To Building Your Own Smoker
After finding the right area for your brick barbecue smoker and gathering all the tools and items in one place, all you need to do now is build your barbecue smoker. Here is our step by step guide:
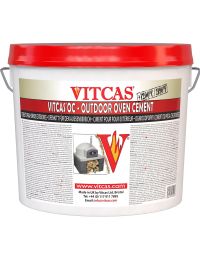
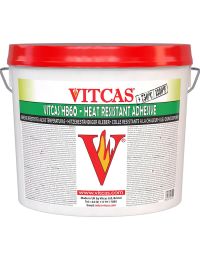
Use Heat Resistant Mortars
You can use Outdoor Oven Cement or HB60 Heat Resistant Adhesive. These materials are dry powders which need mixing with water. Stir the dry powder in the bucket before you start adding water.
Start Building The Base
Firstly, lay out the dimensions of your brick BBQ’s base and mark it on the selected area. You need to make sure that the paving slabs fit perfectly when laid out in a square. For marking the area, we highly recommend using strings with nails.
After that, lay out the first square of mortar into the marked area. After that, lay out the first layer of bricks. Next, use your spirit level to check that the bricks are level. You must lay out the bricks in such a way that one end of the brick meets the center of the sidelong brick and so on and so forth.
Depending on your bricks' height, build up to 4-5 layers of brick and mortar. If your brick's height is higher than average, 3 layers may be sufficient. As you continue constructing, continuously use your spirit level to ensure that every layer is level.
Overlay your bricks with another layer of mortar. Insert the 4 paving slabs into the mortar. The corners must be at right angles. As always, make sure that it’s level.
Work On The Layers Of Bricks
After you’re done with the base, you need to work on the layers of fire bricks. Place mortar on every block of brick and lay it down. Line each block of brick up until a square wall is formed. The front area of your smoker must be left open for entrance. You will need to install the doors later.
Continue layering until you build about 7 layers. Again, this is dependent on your brick’s height. You need to build a firebox that’s tall enough to accommodate space in between the cooking and charcoal trays and then additional space above the cooking tray.
Building The Ledge For Your Charcoal Tray
After you’re done with the layers of bricks, start building the ledge for the smoker's charcoal tray. For this, turn a couple of bricks on the right and left inner walls to the sides. This is to make them stick out towards the center. This creates a ledge for positioning the tray. Alternatively you can use angle irons to support the tray. Make sure that the charcoal tray is slightly smaller than the diameter of your firebox so that you can easily put in and pull out your tray.
Build The Grill Tray’s Ledge
Build three layers of bricks and for the next layer, turn the bricks to create the ledge for the smoker's grill tray. Similar to your charcoal tray, the grill tray must be smaller than the external diameters of your firebox and the ledges to fit inside comfortably.
After that, you can continue building your layers of bricks until the desired height is reached. In most cases, about 5 layers will be sufficient.
Next, take the 4 concrete paving slabs and position them on top of the final brick layer to form the cooking chamber. Finally, seal them with mortar. The slabs must be air-tight sealed. Fill in the mortar between every concrete slab to give good heat retention to your oven.
Giving The Final Touches
Place the piece of wood/pipe on the bricks. Next, start scrapping from top to bottom to remove the excess mortar. The cement can be set very quickly. So, you can consider doing this as you go on layering. You should also scrub the slab roof and install the chimney. The top piece can also function as a working space counter but it can get extremely hot. After everything is completely dried out, you can water it down.
Maintaining A Brick Smoker
As you continuously use your brick BBQ, it’ll continue to lose its lustre and shine. You need to clean it regularly and ensure that it's in tip-top condition. Here’s the best way to maintain your brick smoker.
Cleaning The Grill
The first thing you need to do is clean the grill. For this, you can use Stove Glass Cleaner - Fireplace & BBQ for the grill.
All you need to do is spray and scrub it with a cloth or sponge to eliminate grease. However, if the grill has charred food leftovers, scrub it with a metal scouring pad or brush. Keep scrubbing until all the remains are removed.
You can also use home remedies to clean your grill. Squeeze some lemons into a bucket of hot water. Soak a sponge into the water and use it to scrub the grill until the remains are completely gone.
Cleaning The Ashes
If you’re going to use a BBQ smoker, ashes are inevitable. However, you must make sure that the ashes are completely extinguished before you remove them. Ashes can take up to 4 hours to be completely extinguished.
If there’s very little coal, you can throw in water. You can also throw some ash on the embers. While removing the ashes, always wear gloves. Use a brush and remove the ashes and put them into a ceramic pot or metal bucket to prevent fires.
Clean the area after you’ve removed the ashes entirely. Use water and liquid soap for cleaning the ash works barbeques. To maintain your brick BBQ’s aesthetics, rub well.
Using Heavy Duty Aluminum Foil For Cleaning Ashes
You can also use aluminum foil for cleaning ashes. And this works excellently for both charcoal and wood ashes. Cover with aluminum foil the area with wood or coal. Be extra cautious not to tear the foil so that you can remove it without any issues. The foil will help extinguish the embers. After it’s done, place a bucket on the ground and use the foil to drag the ashes.
Cleaning The Soot
After every use, smokers generate a layer of soot. Initially, this won't be a major issue. However, after some time, it can be a big problem and can even damage your brick smokers. There are several ways to deal with it.
The fastest way is to use high-pressure water. This can get rid of the soot very quickly but you need to be careful as pressurized water can be damaging and can even cause cracks in your brick smoker. You can also use bleach. While dealing with bleach, always wear gloves. Gently apply the bleach with a scrubber and then use a hose and a little water to remove the remains.
If stains remain, you can create a scrubbing paste by combining 2 tsp of dish soap with ½ cup of baking soda. Apply the paste and scrub it with a brush. After you’re done scrubbing, rinse the brick BBQ or gas grill completely.
For the walls, a simple method is to vacuum them. After your cleaning session, always make sure that your smoker is completely dry before using.
Simple And Easy DIY Smokers

The above DIY brick smoker idea might be a little complicated and exhaustive for beginners and people that are new to DIYs. However, you can also create smaller and simple DIY smokers. Here are some great DIY ideas for you to build your own smokers:
Building A DIY Ugly Drum Smoker
A DIY ugly drum smoker is as easy as it can get and you can get it done in just a few hours. There’s no welding involved. Firstly, you need to get your drum. You can purchase a new one but if you do not want to waste too much money, you can simply get a used one.
The important thing is to make sure that the drum doesn't have epoxy coating as it doesn't react favourably to heat and you don't want toxic fumes entering your food.
Once you get your drum, give it a good scrubbing and use fine sandpaper to buff the insides. After that, all you need to do is fix four air intakes with easily available plumbing supplies, use a metal mesh to build a fire basket, and install a handle to the lid.
After you’ve gathered your tools and parts, your ugly drum smoker can be ready in just a few hours.
Required Materials
-
Drum/ propane tank(55-gallon)
-
Charcoal Basket
-
U bolts-2 each
-
6 each of lock nuts, nuts, washers, and bolts (4 inch long)
-
Steel mesh (45x9 inches)
-
Charcoal grate
Charcoal Basket: Legs
-
Flat washer (X8)
-
Lock nut (x4)
-
Nut (x4)
-
3-4 inches hex bolts (x4)
Charcoal Basket
- Charcoal Grates (14 ½ inches)
- 9 gauge expanded metal (45x9 inches)
- 1x5/16 inches bolts (x2)
- 5/16 nuts (x4)
- 5/16 flat washers (x4)
- U-Bolt (x2)
Assembly
- 22.5 inches standard grill grates (x2)
- Door handle (x3)
- Air Intake / Vents
- ¾ inches ball valve (x1)
- ¾ inches conduit nuts (x3)
- ¾ inches steel pipe capes (x3)
- ¾ inches steep pipe nipples (x3)
Step By Step Guide
Wrap a sheet of expanded metal 45" x 9" around a propane take. It still takes some finesse to use the propane tank.
Use the washers and nuts to secure the cylinder with the two nuts. After that, fasten the 4 inch bolts to the grate. Use the U-Bolt to attach the bent basket to the charcoal grate.
Drill eight 1-inch holes around the lid. Make sure that the holes are evenly spaced. Next, you need to create the door frame. Mount the handle to the lid with 4 ¼ inch holes.
Drill ¼ inch holes around the barrel using the step drill, about 7 inches down from the barrel’s top. Make sure that the holes are evenly spaced. The bolts and nuts need to be placed in these holes to support the grilling grate.
About 3 inches from the barrel’s bottom, drill three 1-inch holes around the barrel. As always, make sure that the holes are evenly spaced. These holes will hold the steel nipples and the ball valve.
Optionally, you can also create an additional area for enhanced functionality features. If you own a second grill grate, you can work it into the barrel’s bottom part to create an area for drip pan, water pan, heat diffuser, etc.
For the second grate, drill ¼ inch holes all around the barrel 12-14 inches from the barrel’s bottom. Make sure that this grate sits on top of the charcoal basket. Always check the height before drilling the holes.

A Homemade File Cabinet Smoker
Necessary Tools
- Drill
- Required Basic Materials
- Heat resistant paint
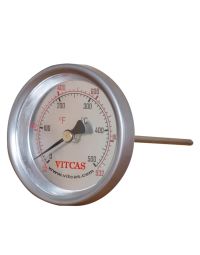
- Two temperature gauges/ digital thermometer (for control of the internal temperature while cooking)
- BBQ racks
- Epoxy paint-free metal filing cabinet
Step By Step Guide
For the easiest and quickest DIY smoker idea, it can’t get better than this. All you need is some basic drilling skills, a metal filing cabinet, and about 30-60 minutes.
Firstly, you need to source your cabinet. Make sure that you get an unpainted one as painted ones can contain epoxy paint as it can produce toxic fumes when it comes into contact with high heat or fire. You can purchase brand-new metal filing cabinets or second-hand ones.
Once you’ve sourced your epoxy-free metal filing cabinets, you need to coat them with heat-resistant BBQ paint. After that, drill air holes at the cabinet’s top and at the draw’s bottoms. Next, fit your newly build BBQ smoker with temperature gauges.
The lowest draw will function as the firebox and you can insert standard BBQ racks in the other draws for holding the food. The entire process can be completed in as little as 30 minutes.
DIY Bucket Smoker
This method is an excellent way of converting an aluminum ash bucket and a hot plate into an electric smoker.
Required Materials
- Temperature Gauge (for control of the heat)
- Wood chips box
- Grating
- Electric hot plate
- Ash bucket with lid
Necessary Tools
-
Drill (must have metal nibbler bit)
Step By Step Guide
Firstly, you need to cut a hole into the ash bucket's side so that the hot plate’s flex can go somewhere.
After that, you need to position the hot plate at the trashcan’s bottom and the wood chips box above it.
The standard BBQ grill grate can hold your food at the top of the can. When the wood begins to smoke, you need to put the lid on.
For better air circulation, you need to drill some air holes into the lid. You can also drill a hole at the side for the temperature gauge to monitor the heat. The entire process should take no more than 30 minutes even for beginners.
Heavy Duty Aluminium Foil DIY Smoker
Want even a better budget option, then this might be your ultimate choice. With virtually no required skills and very few tools, you can have your own aluminum foil smoker ready.
Required Materials
- Heavy-duty aluminum foil
- Hickory pellets
- Bulldog clips
- Bricks/Cinder blocks (optional)
- Searing grates or stainless steel cooling rack
- 2 aluminum foil baking pans
Step By Step Guide
Firstly, on the top right-side corner of the aluminium baking foil baking pan, cut a 2-inch by2-inch square and cut it open in an X format.
On the other pan, open a 2-inch by 2-inch square in the bottom left corner. Set these pans aside.
Next, on the sheet of aluminium foil, throw in 2 cups of wood pellets and roll it into a burrito shape. After that, puncture a few holes all over the foil but make sure not to puncture too many holes as it’ll cause everything to fall out. You’ll puncture more holes in later steps. Cut the excess from both ends.
Put one of the bricks in one end of one of the pans and another brick towards the other end but leave a small space to place the burrito-shaped aluminum foil. After that, position the barbeque rack on top of the bricks.
Next, stack the aluminum pan with holes on top of the other pan with the bricks. Next, hold these pans together by placing the clips on both sides.
If you want to use this DIY smoker for cooking meat, you need to use it outside. Whenever you’re using this smoker, always remove the top pan. After that, puncture more holes into the burrito-shaped aluminum foil and you can fire it up. You can put the meat on the grates.
When it’s up in flames, you can place the top aluminium pan. Put your clips on and you’re ready to go. The burrito should last for about 6 hours which should be more than enough to cook any kind of meat.

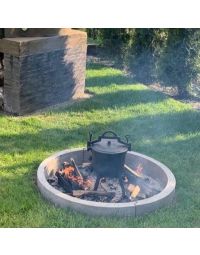
DIY Fire Pit
If you end up loving building your own smoker, you might want to build your very own firepit. In comparison to a smoker, they are comparatively easier to build and can boost the aesthetics of your back yard.
Here is a great idea for a DIY firepit. You can experiment with the design of this fire pit bowl. You can make it as small or as big as you want; perfect for grilling at small cosy gatherings or full-blown campfire nights. This fire pit serves as an amazing centrepiece for any party. You only need a few items and supplies to start grilling.
Things You’ll Need:
- Gel fuel cans
- Lava stones (fire safe)
- Sanding machinery/ sandpaper
- Bucket for mixing concrete
- Margin trowel/masonry
- Cooking oil
- Plastic bowls (one small and one large)
- Quick-dry concrete mix
- A match to light the gel fuel cans
Step by Step Guide
Firstly, always wear gloves and protective gear while working with concrete.
Lay out some newspapers on a table and put some weights if you’re outside to prevent them from flying away. Spray cooking oil into the insides of the larger bowl and the outsides of the smaller plastic bowl.
After that, use a paper towel and wipe the oil sprayed areas to spread it all over the bowls. Next, spray the inside of the larger bowl and outside of the small bowl with cooking oil one more time to get an excellent coating.
Pour the cement into the bucket. After that, pour some water into a clean container. Pour the water into the cement and mix it very well using the margin trowel. The consistency needs to be thin and wet so that you can pour it into the larger bowl and must it down with the smaller bowl.
After you’ve done that, grab the sanding machinery (with no sanding paper) and vibrate it along the larger bowl's bottom to vibrate out any air bubbles. Next, pull out the inner bowl. If you have enough oil, it should come right out.
Use a grout sponge to shape and mould the cement after you’ve taken out the smaller bowl. After about 5-6 hours, pop out the cement from the container. Your bowl should be ready by now.
Use sandpaper to smooth the bowl down. Don't be too harsh or you’ll experience cracks. Put the gel can in the centre of the bowl and fill in the lava stones around the gel can. Light the gel can with a long match and you’re good to go.
This bowl can be completely customized. If you want it to be bigger, you can simply get bigger plastic bowls and fill them with cement. This DIY firepit is a wonderful addition to any patio or backyard and the building process shouldn't be more than an hour.
Of course, you can also build a full-fledged brick fire pit according to our instructions.
Conclusion
All you need is a great recipe and you're ready to cook and smoke meat. With just a few tools, minimum skills, and some time, you can have your own brick smoker in your garden ready to smoke some delicious food for you and your family. The meat you smoke in your own brick smoker is sure to be delicious. If you like doing DIY, you can also experiment with some of the other DIY guides mentioned in this article.