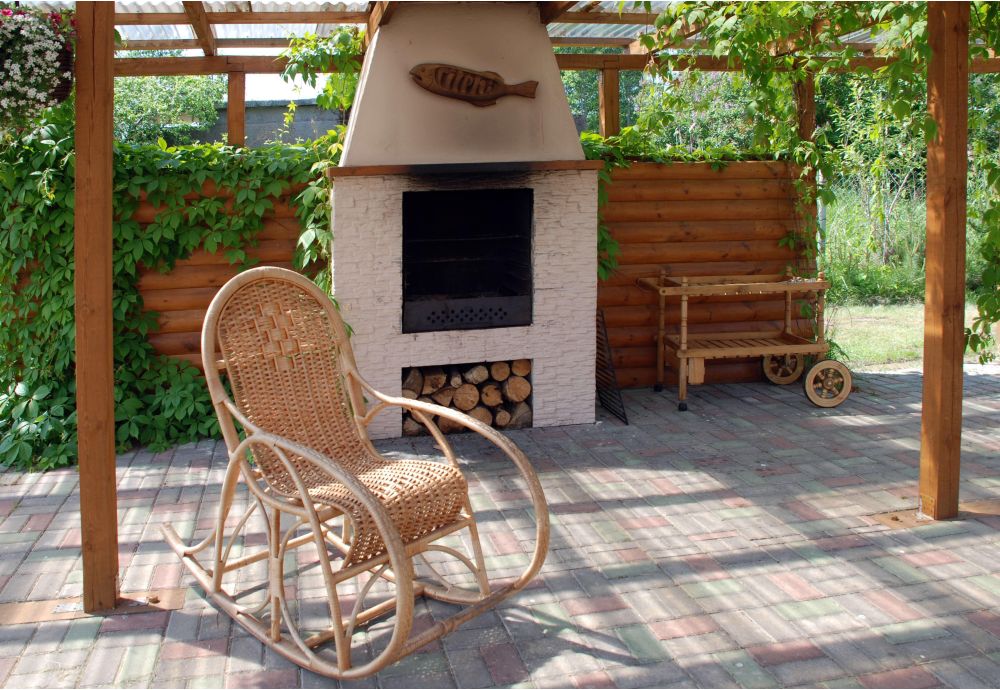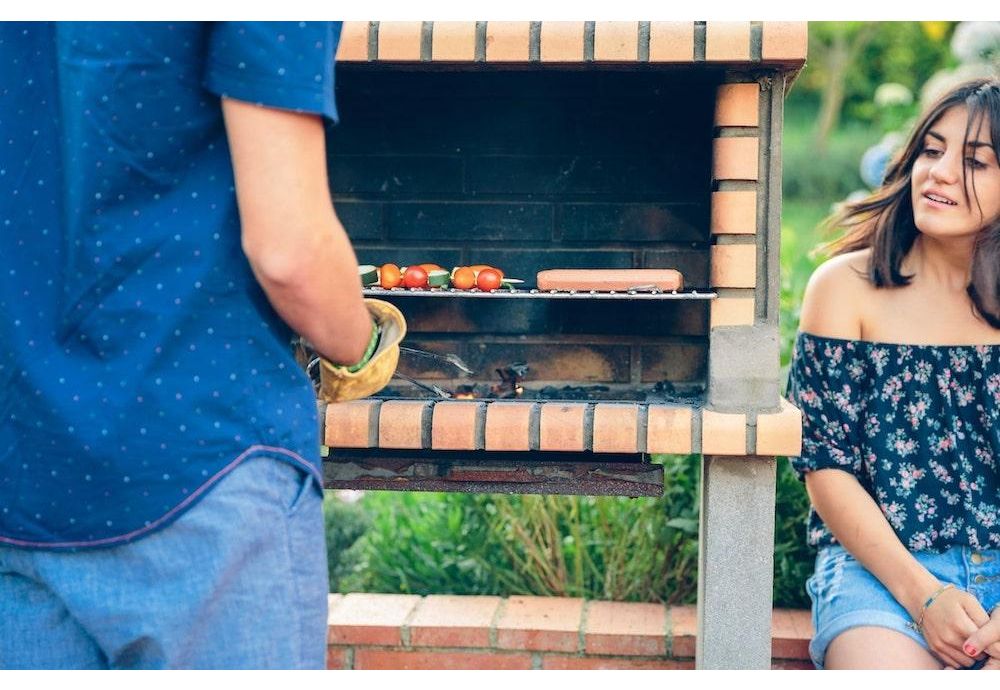
There is nothing better than a home-cooked meal, right? Well, what about a home-cooked meal that is made in your very own wood-fired brick BBQ oven?!
You can feel the hot air rise, the smell of the grill, and out of every option for a barbeque, grill or “open-flame” type of cooking, an actual wood-fired brick barbecue always produces the tastiest meals. There are so many reasons why you need a DIY brick BBQ in your back garden. We plan on running you through a few of these reasons along with compiling a complete guide on how to build a brick BBQ. We believe in making everything simple, easy and worry-free.
Why you need a brick barbecue oven
Here are some reasons why you should have a brick barbecue in your garden:
- Amazing food that will blow your family and friends away.
- Based on a rich tradition of cooking and grilling.
- Quick-cooking, easily maintained, long-lasting cooking platform.
Almost everyone loves pizza, burgers, meat or barbequed veggies. Many people would even consider these foods staples in their diet. Having a brick barbeque opens up endless opportunities for innovative, authentic cooking experiences that you can share with your friends and family.
Brick barbecue ovens truly are for everyone. You do not need to be an excellent chef to be able to enjoy using a brick barbeque oven.

Benefits of building your own brick barbecue grill
From an exceptional conversation piece to creating delicious food, have you ever wondered about what the benefits of a brick BBQ oven are? There has been a lot of research conducted as to the benefits of an open flame cooking style.
In prehistoric times, it was commonplace for man to always cook and prepare food over an open-fire.
We bring this tradition alive with a modern-day twist. We supply materials which you can use to design and build your very own brick barbecues.
We only offer the highest quality materials that will withstand for years to come. We make building your personal, customised barbeque simple. Follow along with us in this step-by-step guide so you can feel confident in building your very own brick barbecue.
Retains nutrients:
When cooking using open-flame methods, you can retain much more of the nutritional content in your food as it is cooked much quicker at higher temperatures. When the cooking process is drawn-out, you start losing valuable nutrients within your food.
Not only is barbecue cooking delicious and fun, but it carries many health benefits as compared to other more unhealthy methods of cooking, such as deep frying.
What do I need for a DIY BBQ?
In order to successfully build a brick barbecue grill, you will want to make sure you have all the right components and materials. Here is a shortlist of what you will need, including materials for the building and maintenance of BBQ grills. The materials may differ if you have a different build idea, as there are MANY styles of brick barbecues to choose from.
TYPES OF BRICKS AVAILABLE / HOW MANY BRICKS:
The number of bricks required will depend on the size of the barbecue / grill.
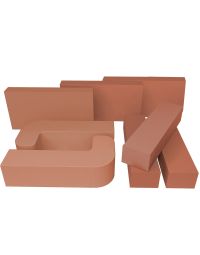
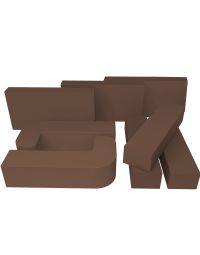
- Fire Bricks - 230 x 114 x 64mm
- Arch Fire Bricks 230 x 114 x 76 x 54mm
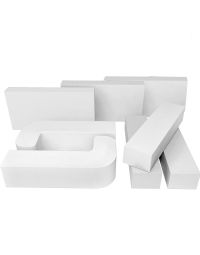
- L-Shaped Coloured Firebricks for Bullnose Edges
- Red, White, Black, Brown, Yellow firebricks for decoration
COMPONENTS / TOOLS FOR BUILDING A BRICK STYLE BARBECUE
- Ash Tray
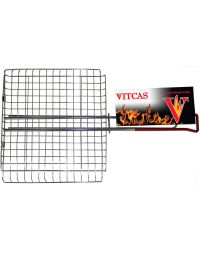
- Metal Grill Grate
- Charcoal tray
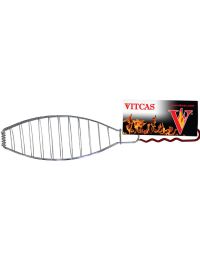
- Cooking tray/ Cooking grill
- Warming rack
- Lifting tongs for handling hot items
- Spirit level (long and short)
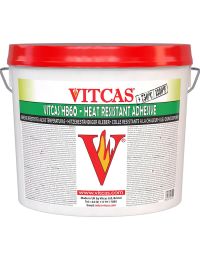
- Fast drying cement - Fireproof Mortar HB60
- Heat resistant silicone
- Pea gravel
- Cold chisel to help cutting masonry
- Builders sand (for detailed work)
- Pieces of wood/foam/polystyrene polymer for shaping (Arch build)
- Spade
- Trowel for bricklaying
- Concrete blocks, house bricks or railway sleepers for the foundation (Base)
- Trammel - for a circular oven shape
- Wire brush, or stiff brush
- Wet saw
- Heat resistant spray paint (available in black, white, silver, red and cream) for the metalwork
Styles / customising of brick barbeques:
- Entirely brick barbecue- or you can use concrete paver blocks for a foundation.
- Brick barbecue plus brick preparation table
- Arched brick barbecue
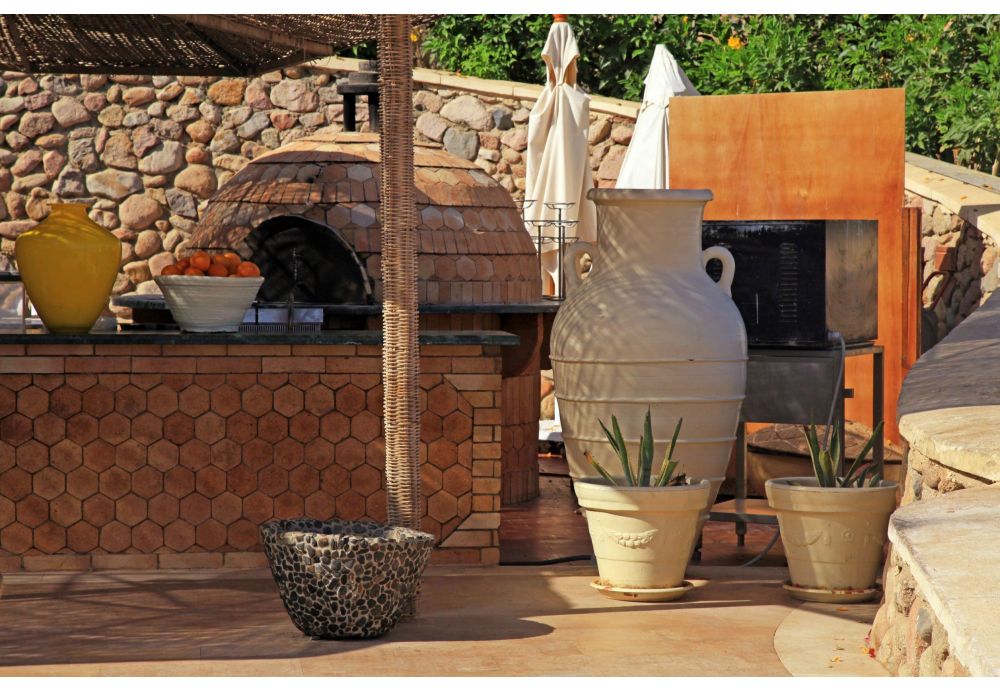
- Wood-fired pizza oven plus BBQ combination
It is entirely up to your preferences and DIY skills on what you can create and accomplish for your patio or grilling area.
Do you want to know more? Read our previous how-to articles:
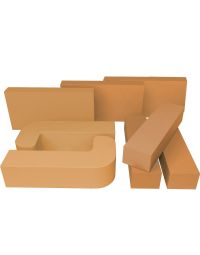
Vitcas offers products needed to create a DIY brick barbecue build
- Vitcas fire bricks (available in brown, white, yellow and red)
- HB60 Fireproof Adhesive
- Heat Resistant Paint Spray (available in various colours)

Considerations before building, prep-work and your foundation
An important thing to consider before starting any of your DIY projects would be the local law and whether the area you live in has any restrictions as it pertains to building a brick barbecue, e.g. requirements for planning permission, local building codes or a need for a building permit.
|
Pro tip: You may need to lay a concrete foundation depending on your location, hence it is useful to consider if the condition of the ground will support the weight of your construction. There may be sinkholes or uneven ground you will need to fix. Make sure the ground is level before starting and use only material that will support your oven. Brick barbecue pits are heavy and require strong, firm foundations. Suggested support material can consist of brick, concrete paver blocks or anything similar that will properly support your oven. Your location should be a permanent spot for your brick BBQ pit, so choose accordingly and carefully. It is a good idea to place your cooking space as close to a dining or entertainment area as possible for easy accessibility. When picking a spot for your brick barbecue, allow clearance all around and between it and any combustible material such as wooden fences, to ensure safety is preserved. Next, determine your desired design. There are many different shapes, materials and sizes to consider when thinking about your build. When creating your BBQ you can design something that is pleasing to the eye and accentuates your property or outdoor living space. |
The Base / Foundation:
The base is a significant and foundational (no pun intended) part of the build. It will be the determining factor in how your brick barbecue grill will sit.
The base or foundation can be created using pavers or railway sleepers.
Laying the first course of bricks
Step 1 - Measure your area. Find the centre of your preferred location and mark it.
Step 2 - Before you lay the first brick, do a "dry run" to ground and place bricks. You will want to place your grill grate in the centre of your dry layout. Make sure to leave a 10-15mm gap between all of your bricks and your grill grate. You will want to trace around your brick border to aid in laying mortar in the correct location(s).
Pro tip: If you need to cut bricks, there are a couple of ways to do this. Use a speed square to mark them out, then use an angle grinder to cut 1/4 inch on each side, and then take a cold chisel to finish the cut. The easiest way is just to simply take the chisel and gently tap on the brick until it starts cracking and now you have your half a brick.
Step 3 - Check that everything is level with your sand cement spirit level. This needs to be done every single time you do anything.
Step 4 - Finally, mix the Fireproof Adhesive HB60 with water to use it as a brick mortar for the build.
Step 5 - Use a brick trowel to create a small roll of mortar. Place the mortar on the marked lines you created.
Step 6 - Place the first bricks down onto the mortar bed you created and gently tap them down. Use your trowel to scrape away any excess mortar. Use your spirit level to check for level and plumb.
Step 7 - Place more mortar at the end of the second brick and place. Apply mortar on any brick that will be touching another. Finish laying the rest of the base.
Step 8 - Double-check that your grill tray will still fit in the centre of the finished structure with a 15mm gap all the way around the outer edge.
Second course of bricks
Step 1 - Before you start laying the second course of solid bricks, make sure they will be straddled across the bottom layer of the first course bricks by 50%. This increases structural integrity and creates the desired brickwork effect.
Step 2 - Begin laying the second bed of mortar. Tap the bricks down until there is about 10mm of mortar left. Remove the excess and make sure you have a flush edge.
Step 3 - You will need to have a half brick on each end of the brick barbecue. Tap the brick with a brick pick and break it into two pieces.
DRYING TIME - After completing four courses of brick and mortar, you need to allow it to dry for at least 1 hour.
-
Check for wetness along the concrete slab, rear walls, and inner wall. Once the brick setts have set a little, you can point up the mortar into the horizontal and vertical joints. It is important to create a waterproof, straight line of brick. If you need to you may use silicone waterproof caulking material.
-
Use a soft brush to clean up and texturize, along with a damp sponge to remove excess mortar.
Step 4 - Continue to lay courses, checking with a level, and cleaning/ allowing dry time until you reach 8/9 courses of brick.
Remaining courses, metal grill grates and horizontal bricks
Step 5 - The next brick will be stepped out or placed horizontally to create the grill grate support ledge. This disperses the weight of the charcoal tray and creates structural integrity. You will want to lay these bricks along the seamlines of the previous work.
Step 6 - After laying the first layer of horizontal brick, you will need to finish the ends with half bricks.
Step 7 - Lay the final course of horizontal brick and then two more regular final course of brick. This is what will hold the cooking grill, where you will have your food cooked.
Now it is time to clean up and make sure everything is level and plumb. If you would like to add any bull nosed bricks (L- shaped bricks) to the top or use heat-resistant spray paint, you can do so now.
Enjoy your new grill!
Creating an ARCH or SIDE TABLE
Not so fast...
If you are feeling adventurous and decide you want to tackle a slightly more elaborate version of a "DIY brick barbecue", we can help with that too. In this section, we will outline a "how-to" guide on a brick barbecue arch and side table. Arches and side tables are beautiful and can accentuate any space. You can build them in many different ways and styles.
Brick BBQ Arch
Tip 1: Create a wooden mould to lay the brick around. You may need to use wood or metal supports.
Tip 2: To create your mould, use a string attached to a pencil. You will then attach that to the centre of your piece of wood with a nail and be able to draw your outline. Cut and attach.
You can add a chimney cap, smoke chamber, or other add-ons when creating your own arches, prep tables, etc.
Side Table
Use the same process as building a brick barbecue. Remember to keep everything plumb and level. The top can be formed from a large piece of stone, marble or even large tiles.
Handmade VS a Prefabricated Grill
We hope that this "how-to build a brick BBQ" guide has helped you feel more confident in your project and aids in bringing your new BBQ to life.
Choosing between a DIY project and a pre-manufactured grill can be a difficult decision. However, with all of the money you can save doing it yourself, you may find that building your own DIY brick barbecue is the best option and not to mention, immense fun.
The process of building your own brick barbecue and subsequently enjoying it with your family will bring forth wonderful memories and stories for years or even generations to come. It is always a great idea to improve your garden design by placing brick BBQ in the focal point.