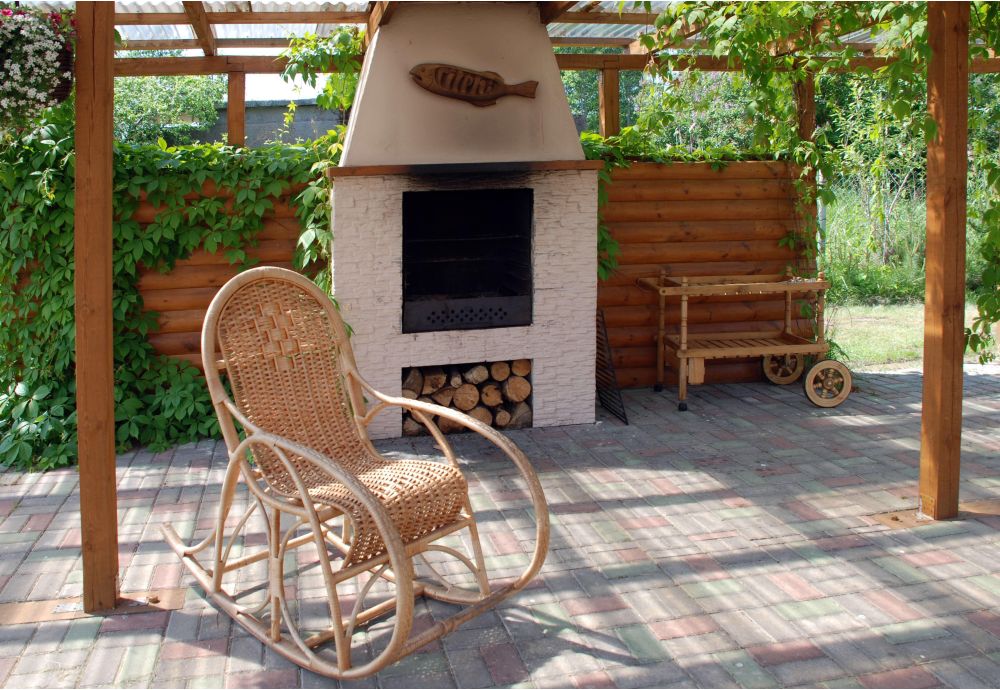
Fire pits at the garden are wildly popular among homeowners, and there is an amazing reason behind this popularity. No other feeling compares to the one you feel while sitting next to a snapping fire bringing together everyone.
Sure, you can just dig a hole in your garden, place some bricks and stones, and light a fire. However, if you double the investment, you and your family can construct and enjoy yourself a beautiful brick DIY fire pit. To build your own fire pit you should also consider using eco-friendly and recycled fire bricks to limit the use of your financial resources and reduce the overall expenses.
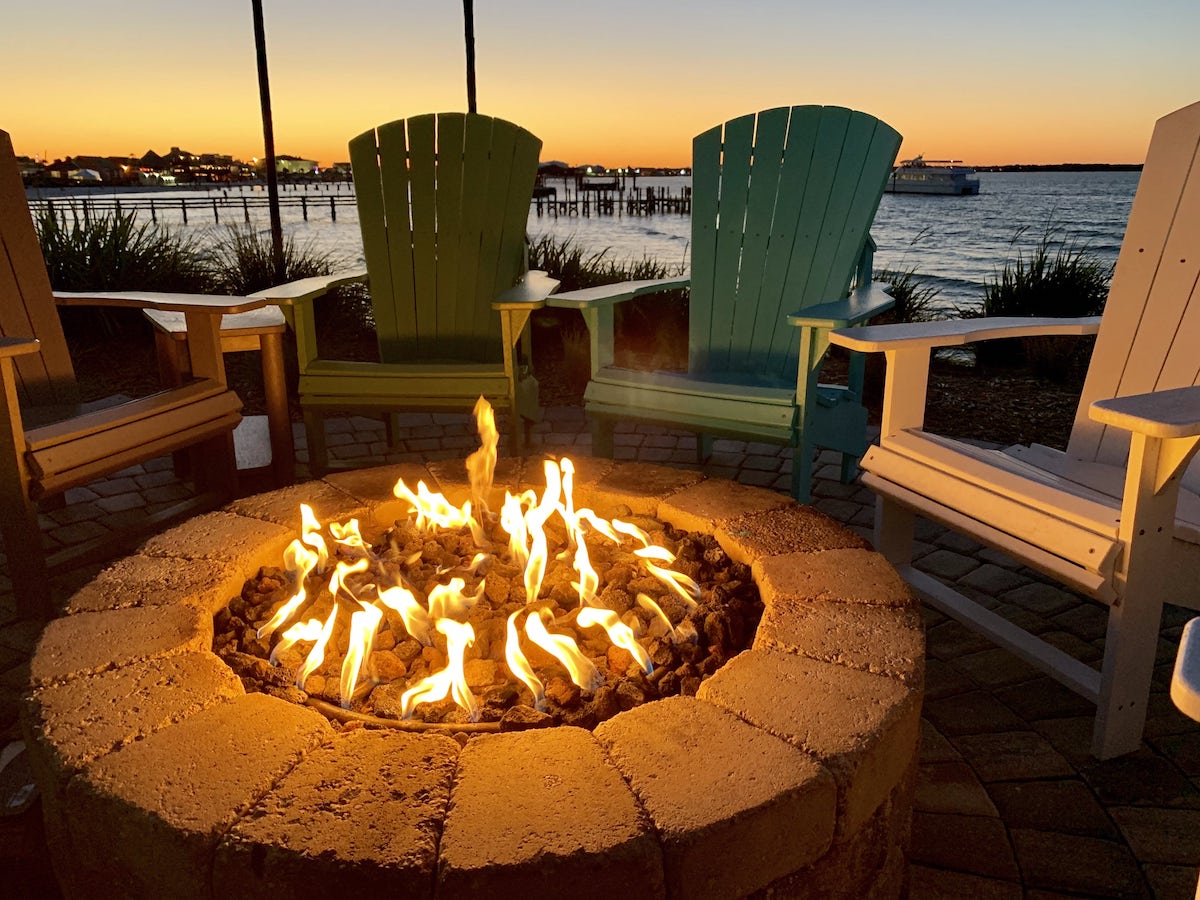
Your own Fire Pit in the Garden
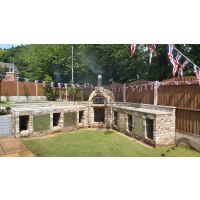
Fire pits in the garden are one of the most popular features of all landscaping. Not only are they stylish but also practical and provide a place to gather together outdoors. Fire bricks can be used to create enticing, fully functional and beautifull brick fire pits in your garden.
Check also our previous articles:
Ideally, a fire pit is installed on a large, elevated area at least 8 metres away from a house or tree, utilising fireproof material.
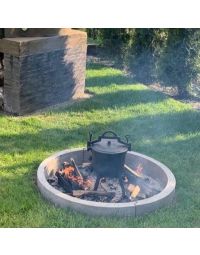
Brick fire pits can be built above or underneath the ground (as an in-ground fire pit). The bricks act more like a fire pit ring in an overflowing brick fire pit, holding burning logs in place. Fire brick is safe to use in a fire pit above ground. Usually, these bricks are fired up to 1400°C and can endure the impact of fires, so it's a safe construction material to use.
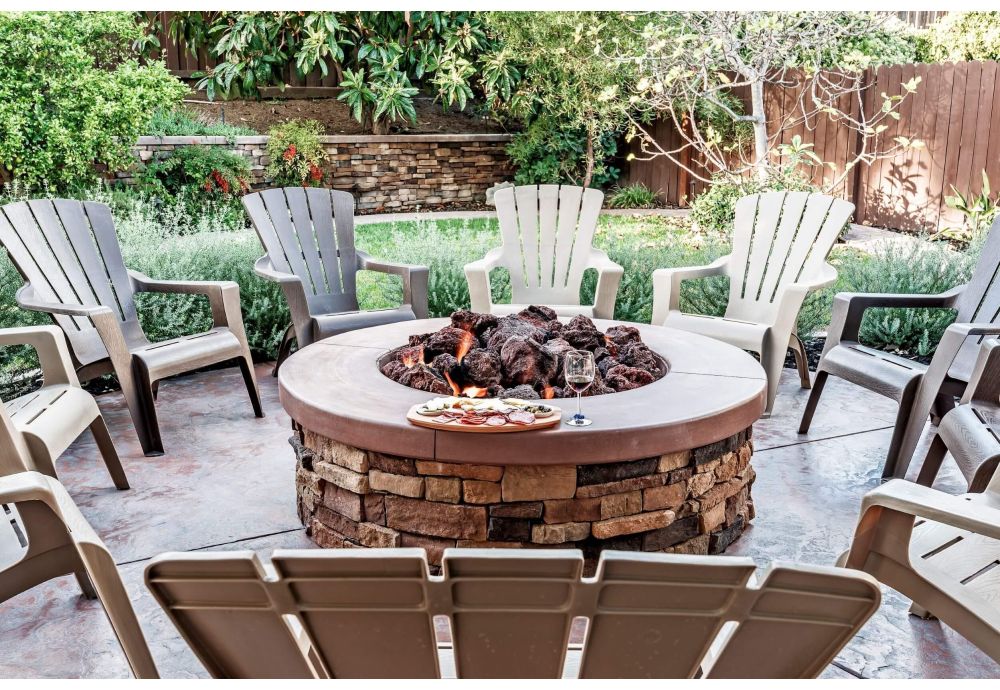
Build a large fire pit, and you'll always be able to host large groups, whether it's buddies, extended family, or the neighbours. Perhaps you'd just want to build a fire pit that's a total focal point of a garden outdoor space, attracting focus by its scale. When you finally install a fire pit, go big, and your back garden will undoubtedly be the talk of the neighbourhood. Discover some tips on how to design a big fire pit. Let’s get started.
DIY Fire Pit
1. Consider the Neighbours
Check that there aren't any utilities - electric cables, gas pipes, water pipes or drain pipes buried under the proposed site of the firepit.
Consider how the dominant winds are blowing across your garden. Do not site the brick patio pit upwind so that the smoke doesn’t fly into your house or into the neighbour's garden.
2. Mark the Location for the Fire Pit
The first move in building a fire pit is to clear out a pre-determined location for the base in the garden. The below are the measurements for a medium-sized fire pit.
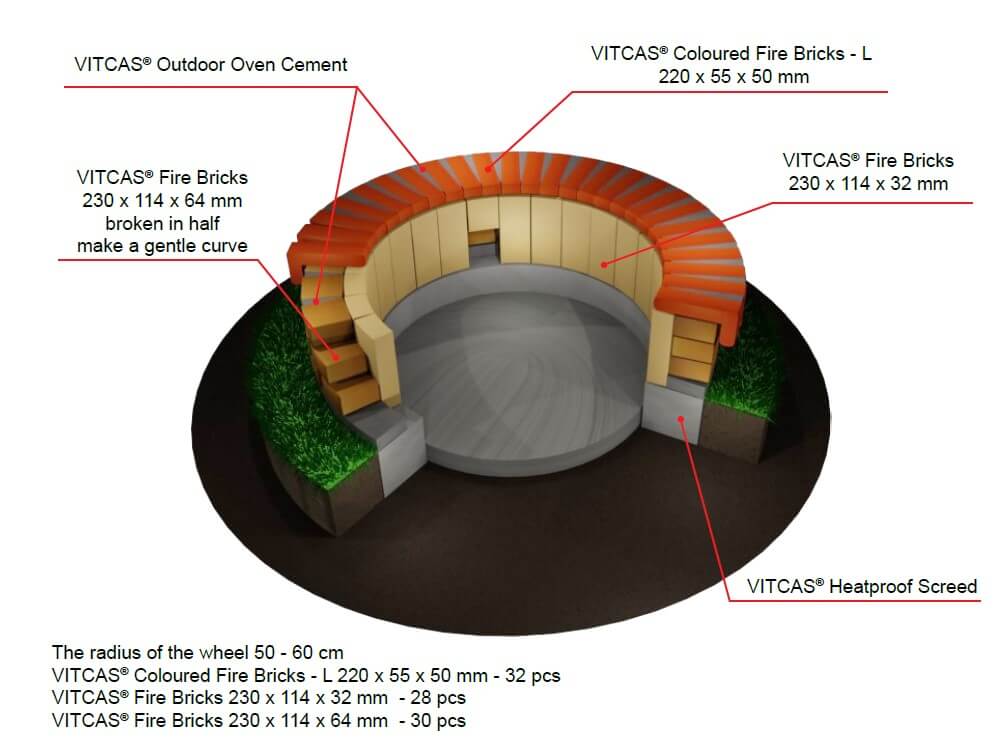
A one metre diameter fire pit provides sufficient room and holds us near enough to talk. You can use two concrete type tubes to render the measurement of the hole and pour the screed into it for solidifications and for the base.
You can easily create shapes by screwing sheets of 3mm plywood together. Cut up a 2.4m x 1.2m sheet into four 300mm wide strips. Carefully fold and bolt two different strips. These joined strips will end up creating a circle of 1 metre in diameter. Use the remaining strips to draw holes in the creations of a circle of 1.2 metres in diameter.
Place the wider form in place and mark it with the help of some paint for identification later on. Next, make a hole that is more than 200mm in depth and 75mm bigger than the form.
3. Market Pit Area Leveling
Shovel the dirt out to 200mm depth for your foundation fire pit. Don't damage the dirt that lies underneath it. Even the fire pit base by levelling it. Get rid of any abnormal or high places in the fire pit by levelling them with the help of a rake. This is quite helpful because the soil beneath it won't be loosened. Compact the ground with a hand tamper.

4. Make the Base with Robust Footing
The foundation should be created inside a steady framework for the walls to avoid crumbling of the sides as the earth changes with time.
Mix up the heatproof screed and use it to fill between the two wooden formers. Stake them if you are using hardboard types, so they are smooth. If the previously created forms are not quite even, you should fix it leveling everything by striking in the odd spots and smoothening out the layers.
5. Rebar is not Recommended for the foundation
It is not a good idea to reinforce the foundation material with metal rods or the like because they will expand with the heat much more than the screed material and cause it to crack.
6. Finalise the Footing
Pour the leftover screed and pound the tubes softly with a mallet. Make sure that the underlying concrete blend is evenly distributed.
Recheck the height, hammer down the forms if appropriate, and smooth the footer, if required. You should allow the screed to dry for a few days before removing the forms from around the sides of the pit.
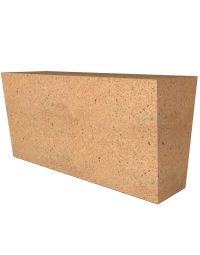
Standard clay bricks can crumble when exposed to extreme temperatures, so you should consider building the walls of your fire pit using fire bricks (also known as "refractory" bricks) or cinder blocks (optional) because of their low thermal conductivity.
Fire brick is a thick brick that is kilned to withstand high temperatures. It's bigger, denser, and broader than regular bricks.
Fire brick is more expensive; however, it will withstand high heat and frequent flames.
As fire bricks are thicker than the traditional bricks, it is more difficult to break them than the regular ones. "Soldiering" the brick minimizes the volume of separating and allows easy fitting of the pit’s curve.
You will want to break and split four fire bricks, which you will be using to finish the construction of your pit. These bricks will be used in front of each other to create oxygen holes for the fire. Upon breaking the fire bricks, lay them on top of the base.
Manually recheck and readjust the gaps between the bricks. This will be helpful in splitting the last round of bricks for easy fitting. Mark every brick’s position for easy identification.
7. Cement the Brick
Fire brick is generally cemented with the help of powerful outdoor oven cement, that is created for projects such as this. This refractory cement is quite unlike standard masonry mortar. Outdoor oven cement is a pre-mixed powder and you just mix with water.
Lay a thin layer of cement before placing your first brick on the footer. Move around the sides in a loop, testing the level as you lay down the cement to butter the bricks with ease.
8. Make Air Holes for Ventilation
Leave gaps in the pit at four opposing stages, and then conceal them with the previously split bricks. Some gaps are actually quite necessary as they are used to feed the fire with air. It's easier to form the curve of the pit walls with half bricks, so place them while the cement is still drying and slowly setting into place.
9. Finish the Walls of Your Fire Pit
You can face the outside of the fire pit with any kind of decorative brick or natural stone as these materials will not come into contact with the fire.
The disparity between your firebrick height and face bricks’ overall height will determine the gap between your mortar layers. Lay the face brick, indicating where the respective face brick will come in contact with the fire brick for rendering the final round of face brick in level with the previously installed and cemented firebricks.
10. Split Bricks
Keep your fingertips below the brick’s top edge as you split them. You need to split 80 fire resistant bricks into half to create your fire pit. Use a good tap (strong tap for splitting fire bricks) on the outer edge to easily break them in half.
11. Use Split Face Bricks
To hold the mortar wall joints at a fair distance between courses, put a two to three inches thick mortar bed on top of the footing first.
Let it slowly set up and flatten out the edges. Now, set the previously split face bricks to create the outer layering.
Check every course stage, and constantly monitor the level of the bricks. Stagger the knees between the shifts to keep yourself active.
12. Flatten and Smooth the joints
Smooth the joints before the cement dries up completely after you have completed each piece of face brick. Smoothing the joints will ensure that the bricks set into an appropriate place before the cement completely dries up and locks everything in place.
Striking adds a clean, polished look to the board. Leave the holes open while you mortar through the face brick portion. Try to keep every layer of bricks in level as you move forward.
13. Finalise the Top
Mortar the tops of the wall. Use regular face tile placed on the bottom in order to finalize the construction of the pit with a corresponding "row-lock" hat.
Forty face bricks are required in this phase. These bricks will:
- Help defend the joints withstand water damage of any kind
- Contain and manage any sparks
- Offer a comfortable place for placing your feet.
Work at a time, with ten to twelve bricks. Set on a 10mm mortar bed and spread the bricks atop the flooring in a level. Then, put the mortar mix on the side of each refractory brick and push it in. You can use brick, but for a cleaner or a smoother look, try opting for other materials with a better finish and texture.
14. Fill in the Gaps
To fill any gaps, add more mortar to the joints as required or as is appropriate. Frequently check the level and keep readjusting the gaps between the different layers.
Leave a 25mm internal overhang enabling rain to run out of the fire pit. Once all of the bricks are mortared and levelled, tap the joints with a jointer for a beautiful and level look.
15. Finish Up the Fire Pit and Start Enjoying
Allow the firepit ten days to completely cure before you light a fire and start enjoying the newly created fire pit in your own back garden. Dispense a few inches of shingle into the pit's drainage surface, and you're primed for your delicious roast.
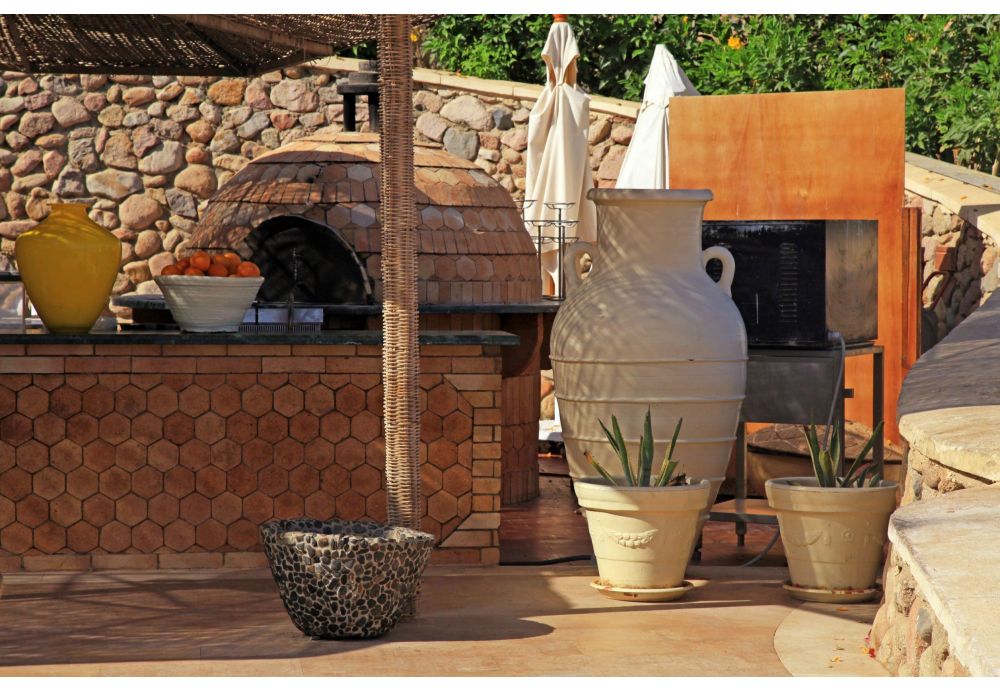
More Suggestions When Building a Brick Fire Pit
Large outdoor fireplaces and fire pits are usually permanent structures of the landscape.. They can be built from a variety of building materials, including local stone, mortar, fire-rated pavers, or concrete. Some homeowners pick the surface with fire-rated brick, river rock, or stacked stones in a fire pit for pits built from concrete.
Achieving a square fire pit is just as feasible as creating a circular one. The process to construct a square fire pit is identical, requiring only concrete blocks and concrete mix.
Be aware that this fire pit would inevitably become a focal point in your garden, so be careful when you pick the location for your large fire pit.
Move the fire pit away from this location if you already have an outside deck or dining area, and make your fire pit in a different place. Consider installing a route to link the two regions, using a hardscape material that separates the two spaces from a design perspective. Make sure there is a well-lit road between the fire pit and patio.
A fire pit’s diameter includes the area where the fire will be erected plus the walls’ width. Usually, a large fire pit measures at least 1.4m across and usually requires a little more to accommodate fireside seating.
Moreover, the height of a fire pit around the wall depends on how you mean to use it. A wide coping fire pit can pull double-duty as a comfortable footrest, a fireside seat, or as a place to sit for drinks or food.
Construct it 300mm high, to use a fire pit wall as a footrest. That height easily suits most traditional styles of patio furniture. Do your own tests to find the perfect height if you want to create a footrest near your fire pit.
Look for a height of about 500mm if you intend to use the fire pit wall as seating. For seating, the width of the fire pit wall should be at least 200mm, but 400mm is ideal. Make the pit large enough that anyone sitting on the wall is 1m away from the blaze itself if you use the wall as seating.
Also, think about adjusting the floor inside the fire pit, so that the fire is built 150 - 250mm below the exterior wall’s top surface. Otherwise, you risk having a fire concealed behind the walls of the fire pit and apparent only from standing position.
Don't forget to consider the area surrounding your fire pit, where you're going to plan fire seating. Choose a material that is related to your fire pit and complement it. Look for a hard surface to provide firm footing to help prevent falling into a wall or a fire pit. Depending on your decor, pick the surface too. Wooden parts last longer with the least upkeep when placed on a good, non-earthen floor. Metal furniture blends in well with every wall.
Remember to always have a fire extinguisher or water source close at hand in case things get out of control.