Special Price£82.80£69.00Regular Price£120.00£100.00
Fast Shipping
Trusted Quality
-31%
5060197260484
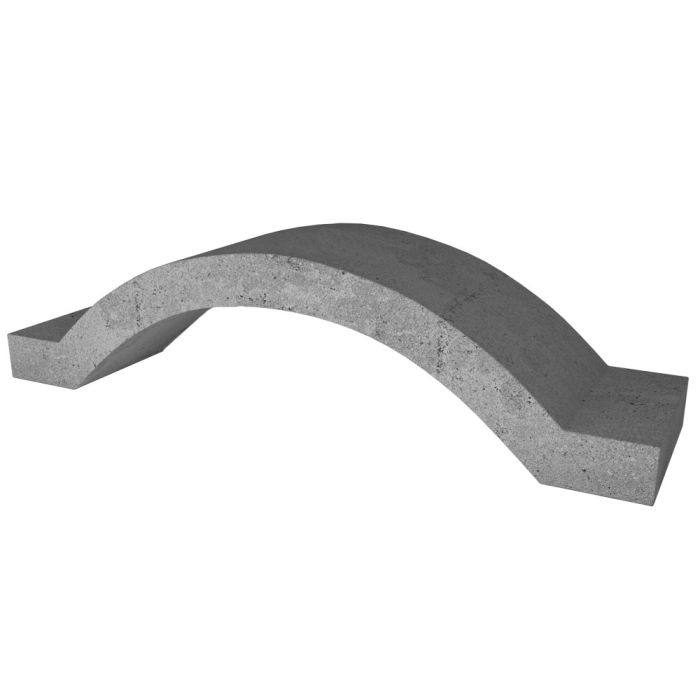
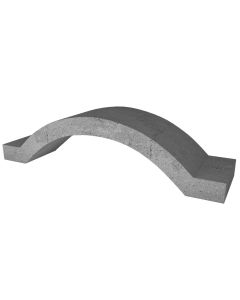
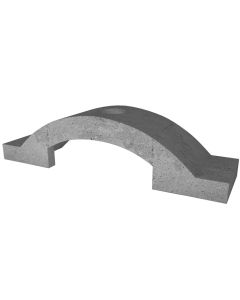
OVEN-ARCH
Benefits of Shopping with VITCAS
Direct from Manufacturer
Tooltip
We offer a wide range of high-quality products supplied directly by the manufacturer.
Fast shipping – dispatch even within 24 hours
Tooltip
Orders placed by 12:00 (with correct details and product availability) are usually dispatched on the same business day. Deliveries are carried out in cooperation with reputable external courier companies. The delivery time depends on the selected carrier as well as the size and weight of the shipment — whether courier or pallet freight.
UK warehouse dispatch – Worldwide shipping
Tooltip
Quick dispatch from our UK warehouse with international shipping available.
Secure payments – Visa, Mastercard, AmEx, PayPal, Apple Pay & Google Pay
Tooltip
All transactions are encrypted and secure. We accept payments via Visa, Mastercard, American Express, PayPal, Apple Pay and Google Pay.
14-day returns guarantee
Tooltip
If you change your mind after receiving your order, you have 14 days to return the goods. Please contact us to request a returns form.
Build a Pizza Oven approx. 1 metre in depth, you will require
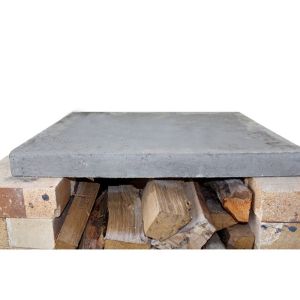
Craft your own unique wood-fired bread or pizza oven with our premium Wood Fired Oven Heat Resistant Concrete Arch. This integral oven cast section, designed to form a tunnel-shaped oven, is meticulously manufactured from top-grade, high-temperature resistant materials. Its robustness and exceptional performance make it an indispensable addition to your oven construction.
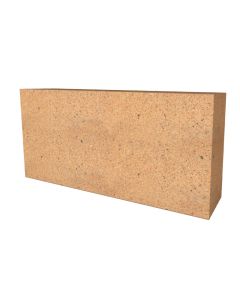
The arch has been designed to integrate seamlessly with Vitcas 64mm fire bricks, and its 250mm radius offers ample and efficient baking space. The heat-resistant nature of this product, coupled with its high-quality construction, ensures that it can withstand the intense temperatures typically associated with wood-fired ovens.
Below is an example of how you can build a pizza oven using the Pizza Oven Arch.
To assemble a pizza oven approximately 1 metre in depth, you will require:
4 x Vitcas Oven Arch
1 x Vitcas Door Arch Section
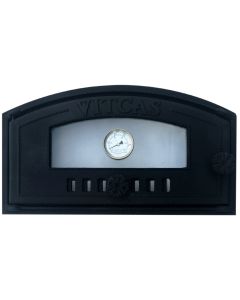
1 x Vitcas Cast Iron Door
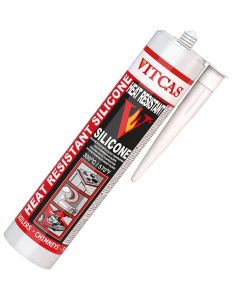
1 x Heat Resistant Silicone
Flue Chimney with Damper
200 x Fire Bricks (230 x 114 x 64mm)
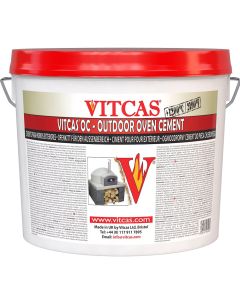
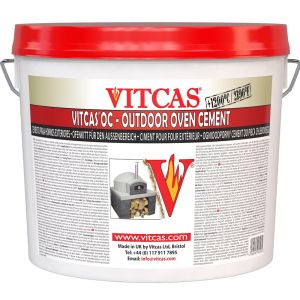
4 x 20kg Outdoor Oven Cement
The necessary insulation includes:
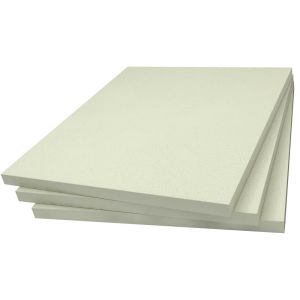
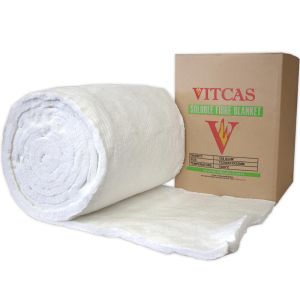
1 x Ceramic Fibre Board (50mm)
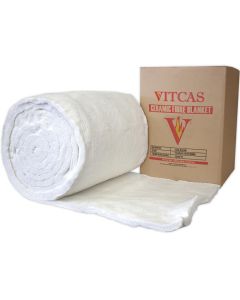
1 x Ceramic Blanket (7 metres)
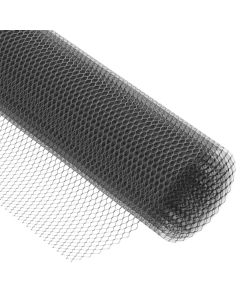
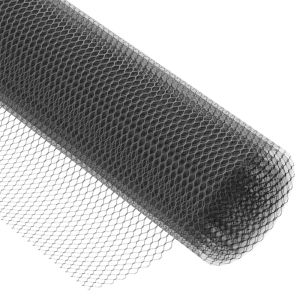
1 x Oven Wire Mesh
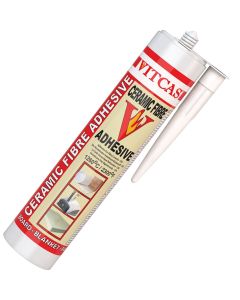
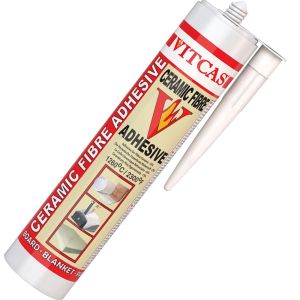
1 x Ceramic Fibre Adhesive (310ml)
Instructions
Construct the stand using bricks, leaving a central gap for wood storage. Fire bricks are suitable for this purpose.
Support the concrete base or plinth with a metal bar underneath.
Lay the 50mm Ceramic Fibre Board on the base.
Cover the board with aluminium foil to protect the top surface.
Start building the oven base with fire bricks, laying them out to form the oven's foundation.
Apply Outdoor Oven Cement between each brick for a solid and secure foundation. Also, cover the edges with the same oven cement.
After setting the base, build walls for the arches using fire bricks, roughly three layers of flat fire bricks should be sufficient.
Arrange your Vitcas Oven Arch sections to form the tunnel shape.
Place the 4 arch sections atop the walls and complete the back wall using fire bricks.
Position the front arch door section.
Install the door and surround it with fire bricks.
Secure the arch sections in place using the Heat Resistant Silicone.
Fit the Vitcas Door Arch Section and the Vitcas Cast Iron Door at the oven's entrance.
Now it's time to insulate.
Attach the Ceramic Fibre Blanket to the oven's exterior using the Ceramic Fibre Adhesive.
Wrap the oven further in the Ceramic Blanket and secure it with the Pizza Oven Wire Mesh.
Apply Outdoor Oven Cement to protect against adverse weather conditions.
Install the Flue Chimney with Damper atop the oven to ensure proper smoke ventilation.
Allow the oven to dry and set according to the curing times provided with your adhesive and cement.
Cure the oven using a small fire. To learn more, here is our blog on Curing a Pizza Oven.
The precast arch forms part of the curved roof of a tunnel-shaped, wood-fired pizza or bread oven. Multiple sections are positioned together to create the required oven depth. It is intended as a construction component rather than a complete oven, so fire bricks, a base, insulation, a door section and a chimney system are required separately.
Question
Is this the front arch for fitting a wood-fired oven door?
Answer
No. The Outdoor Pizza Oven Arch is the section used to extend the main tunnel-shaped cooking chamber. A separate VITCAS Door Arch Section is required at the entrance when fitting the compatible cast iron oven door. Ordering the correct sections prevents a standard chamber arch from being mistaken for the specialised front section.
Question
How many arch sections make a one-metre-deep oven?
Answer
VITCAS recommends four Outdoor Pizza Oven Arch sections and one separate Outdoor Oven Door Arch Section for its example oven measuring approximately one metre in depth. The final number required depends on the intended oven design, so establish the chamber depth and complete construction plan before ordering the precast components.
Question
Which fire bricks fit the VITCAS Outdoor Pizza Oven Arch?
Answer
The outdoor pizza oven arch is designed to align with VITCAS fire bricks measuring 230 × 114 × 64mm. Its ends match the 64mm brick thickness, helping the precast sections integrate neatly with the side walls and surrounding brickwork. The arch has a radius of 250mm, which should be considered when planning the oven chamber.
Question
How are the arch sections secured during assembly?
Answer
Arrange the sections on the completed firebrick side walls to form the tunnel, then secure the precast arches using VITCAS Heat Resistant Silicone. The supporting walls and oven base must already be solid and level. Follow the full construction sequence so the arches are properly supported before insulation and exterior finishing begin.
Question
What insulation is required around an arch-built pizza oven?
Answer
For the VITCAS example build, install 50mm Ceramic Fibre Board beneath the firebrick oven base. After assembling the chamber, attach Ceramic Fibre Blanket to the exterior using CFA Ceramic Fibre Adhesive, secure it with Pizza Oven Wire Mesh and cover it with OC Outdoor Oven Cement. These insulation materials are purchased separately from each arch section.
Question
How is the completed wood-fired oven protected from outdoor weather?
Answer
Once the arch chamber has been wrapped with ceramic fibre insulation and secured with pizza oven wire mesh, apply VITCAS OC Outdoor Oven Cement over the exterior. This protects the insulation against adverse weather conditions. Ensure exposed board edges and surrounding construction are also properly covered rather than leaving insulating materials open to rain or moisture.
Question
Can the VITCAS Oven Arch be painted?
Answer
Yes. Once the completed oven has been assembled, insulated, covered with wire mesh and rendered using VITCAS OC Outdoor Oven Cement, the exterior can be painted as an optional decorative finish. Paint should be applied over the fully cured render and does not replace the insulation or weather-resistant cement layer.