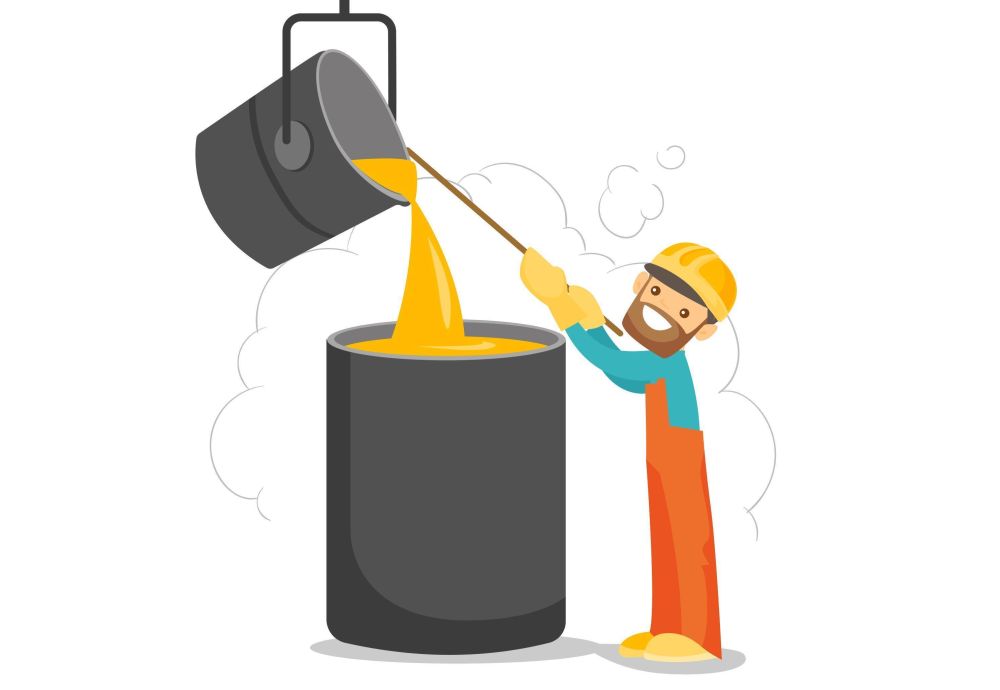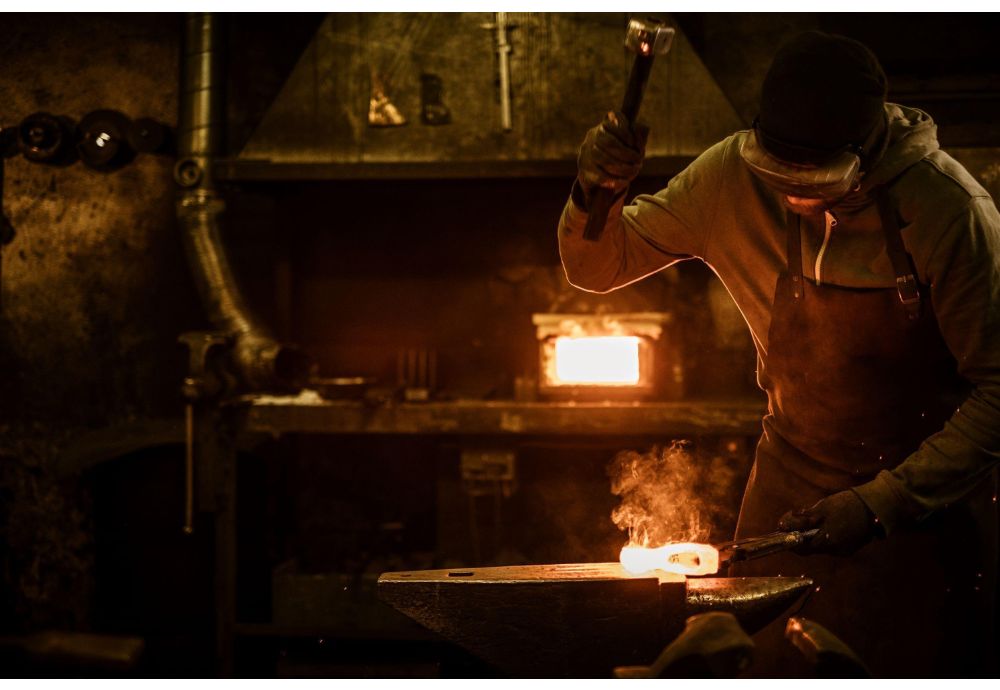
Throughout millennia, blacksmithing forges have been utilised by blacksmiths in their projects. When dealing with metal, blacksmithing forges allow you to bend and shape the metal as you like depending on your requirements. Without heat, you will never be able to bend metal to your will.
Several types of heat treatments are available in the market today, but the predominant ones are oven, forge, furnace or kiln. However, you can build your very own forge as well and the process is quick, simple and straightforward.
Through this guide, you will learn about how a blacksmithing forge works, how to build your very own forge, and some tips to kickstart your blacksmithing journey.
What Is A Blacksmithing Forge And How Do They Work?
A blacksmith's forge is a type of hearth most commonly used by blacksmiths to heat and shape metals for their projects. Such a hearth is generally used for heating metal into various shapes, tools and objects.
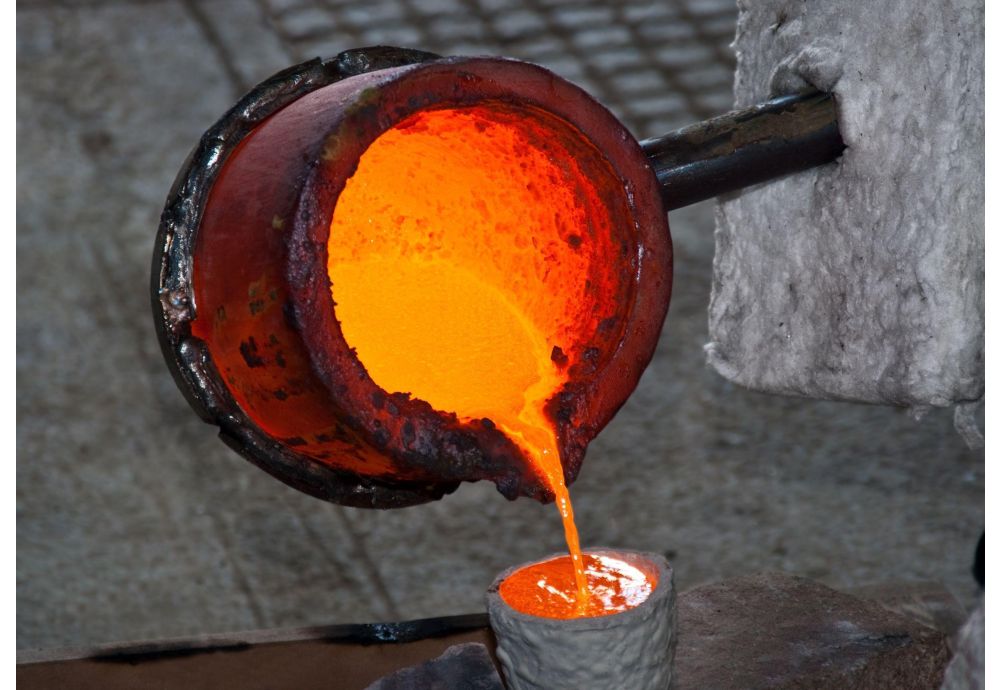
Metal is very stubborn, and it requires high temperatures to bend it into a desired shape. A hot metal forge is generally a basin that features an oxygen input and heat source to heat metals to a high temperature and make them easy to shape and mould.
Throughout the ages, the way a blacksmithing forge works has not undergone many changes and the core concept remains the same. A blacksmithing forge uses a combination of moving air, fuel, and fire. While the forge oven is operating, solid fuel is ignited inside of the forge’s hearth. This was traditionally achieved with large bellows, but modern forges use fans.
The forge features a pipe known as the tuyere through which oxygen enters. When the oxygen enters, the temperature is raised, and the forge burns hotter.
An ideal temperature must be reached where it is easier to bend the metal into a range of shapes or when hardening does not occur. With a traditional blacksmith coal forge, you will have to continuously strike the right balance between air and fuel while operating, but modern indoor ones feature a vent and chimney to filter the smoke out.
The most well known application for a blacksmith's forge is for horseshoes, but a forge can be used to make many other items such as fences and gates from wrought iron. This task to shape metal by starting from a plain metal bar and creating a decorative object without the use of a pattern requires a high level of skill.

Three Most Common Types Of Forges
Blacksmith forges are available in gas, electric and solid fuel types. The type you need will depend on your project, budget and workspace. Regardless of the forge’s type, it will always consist of a hearth where you can heat the metal.
Solid Fuel Forges
If you own a large shop and don't need to move your forge around, solid fuel or coal forges will be perfect for you. They feature a larger hearth pan making them more suitable for oddly shaped metals. Unlike gas ones, coal forges aren’t enclosed, making it easier for you to find the best position for heating.
Many blacksmiths prefer coal over charcoal as they burn efficiently and slowly. You can even create your own coal by building a campfire and then dousing it with water. After it's dried out completely, you can use the charcoal for forging.
Induction Forges
This type of forge isn’t powered by gas or solid fuel and instead uses an induction coil to heat metal. Many blacksmiths prefer this type of forge as it’s more energy-efficient and allows easy control over the heating process. However, they can be pricy to setup depending on your home’s access to power.
Power supply frequency from vary from 50 Hz to 200 Hz, which will most likely be more than your household electrical power. In such a circumstance, you might need to install a new transformer/circuit breaker to meet the electrical power demands. Induction forges are ideal for smaller projects and if you have sufficient electrical power at home.
Gas Forge
Gas-powered forges are easy to use. Additionally, the fire produced is consistent, easily controllable and clean . On the downside, a traditional charcoal fire tends to hold the heat for longer.
Nonetheless, building a gas forge is comparatively easy and materials are readily available.
How To Build Your Very Own Hot Metal Forging Oven
It is certainly possible to build your very own forge for blacksmith's work. Through this guide, you will learn to build a solid fuel forge that is powered by hot charcoal and perfect for welding small objects. This forge is perfect for beginners, but as you gain more experience, you can move on to building larger and more sophisticated forges.
Things You Will Need For Building Your Own Forge Welding Oven
- An air source — you can use an air compressor, bellows, or a hand crank blower
- Charcoal
- A 6mm drill bit and a power drill
- Steel pipe for air supply
- Washers, bolts and 40mm M6 bolts
- Metal tray e.g. made from steel — you can use a BBQ grill or something similar
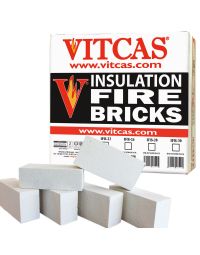
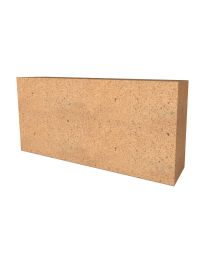
- Insulating fire bricks
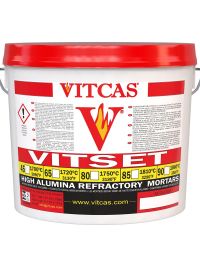
- Air setting refractory mortar
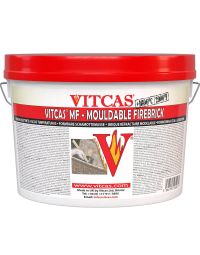
- Mouldable firebrick for lining the metal tray (leaving a hole for the air supply pipe)
Ensure That Your Working Environment Is Safe
Firstly, you need to maintain maximum safety standards when working with a forge. At the least, you must wear safety glasses and safety clothing to protect your body and prevent injuries.
It is highly important that you are working in a well-ventilated environment when you are dealing with a forge to prevent carbon monoxide build-up. We highly recommend you work outdoors if possible.
If you are going to build the forge inside a garage, ensure that the doors are open and install a carbon monoxide detector. If you are building an indoor blacksmith shop, thoroughly research or call in a professional to install an exhaust hood.
Punch A Hole
Insert a centre punch hole in each corner of the steel tray using the chisel or punch. After that, use the power drill and the 6mm bit to drill entirely throughout the holes you just marked.
Next, you can add the legs. Insert an M6 bolt through each hole and attach a washer and a nut. This will elevate your forge off the ground and aid with insulation.
Connect The Air Supply
Now, you need to connect the air supply to the steel pipe. For this, drill a hole in one side of the metal basin. After that, insert the pipe and ensure that about 6 inches of length extends from the hole you just drilled.
The nozzle through which the air is forced into the forge is called a tuyere. This air source will provide excess oxygen which ensures that the charcoal burns at the highest temperature. Always make sure that the air source is located on the side of the forge as opposed to the bottom, so as to ensure that it is easy and practical to use.
If the tuyere is located at the bottom, it will be filled with ash, and it is also advantageous to have localised heat and cool charcoal on opposite sides. When you work with the forge, you can push the coal to the cooler side and have a heat reserve on the other side.
Install The Air Supply
To ensure that the oxygen is continuously flowing, you need to now attach the air source to your pipe. For this, you can use bellows, hand crank blowers or air compressors. Some people even prefer to use hair dryers, but the insufficient settings make it hard to control the oxygen being pumped into the forge.
If the chosen air supply pipe's width differs from the tuyere, you will need to build an adapter to fit the pipe to the right width.
Insulate The Forge
Line the tray with mouldable firebrick and hammer this material into position, around the air supply pipe.
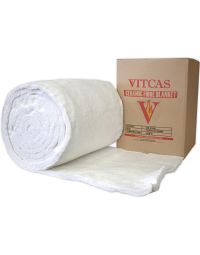
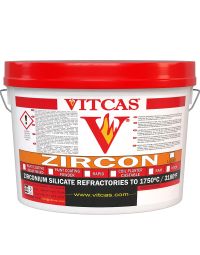
Next, insulate the forge using ceramic fibre blanket and then zircon paint refractory coating on top.
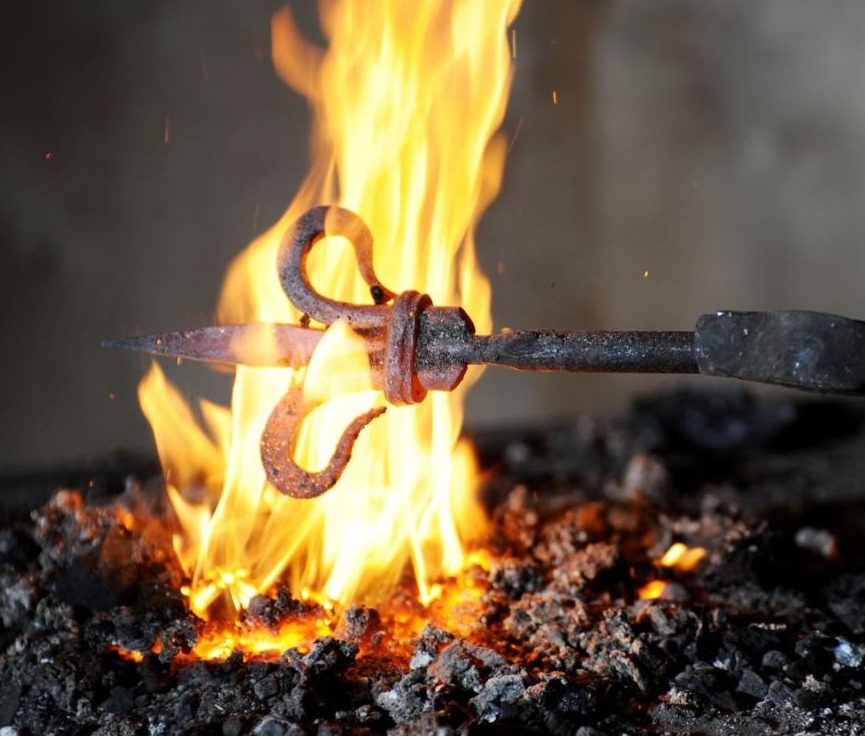
Make a mound of charcoal on the tray and then the forge is ready to be used.
Fuel Your Forge
Finally, you can set alight your newly constructed forge. Since it is a charcoal-powered one, it is straightforward to do so. Light it like you fire up a charcoal grill and then start your air supply.
You are now ready to begin your blacksmithing journey. If you are a beginner, make sure you take it easy and do not start with complex projects. In that case, it is best if you take the guidance of a professional blacksmith.
Blacksmithing Steps You Need To Know

If you are just getting into blacksmithing, you will soon learn that there are various tools, techniques and terms that you are not familiar with.
Even though there have been considerable improvements in technology, many of the techniques and core concepts of blacksmithing have remained unchanged. These techniques are segmented into the four stages of blacksmithing consisting of heating, holding, hitting and shaping.
Step 1: Heating
The first step in blacksmithing includes heating metal in order to manipulate its shape. To achieve this, the metal must be heated to the right temperature, which depends on the metal to be used eg. ferrous or non ferrous metals.
You can find more information about the melting points of different metals here.
Temperature is usually around 400 degrees Celsius /760 degrees Fahrenheit. During the heating process, there are four commonly used tools which include:
Forge
A forge will be your primary source for heating materials. It only requires fuel (coal/propane) and heat to operate. Traditionally, coal was used as the primary source of heating and even today many blacksmiths prefer to use it as it provides heat quickly, but it can be messy to work with.
These days, propane has emerged as a popular fuel source as it is inexpensive and comparatively clean.
Quenching Bucket
This item is used to collect metal. Generally, mineral oils are used to facilitate steel hardening by managing heat transfer. Additionally, it also helps reduce the creation of unintended gradients, which often cause increased cracking or distortion.
Safety Gear
When blacksmithing, it is essential to wear safety gear such as glasses and a safety apron for protection against coals, sparks and hot metals.
Step 2: Holding
During holding, a variety of tools is used to keep in metal static so that the blacksmith can hit it and manipulate its shape. Some of these items include:
Vices/Clamps
Clamps and vices are utilised to tightly hold hot iron while its being twisted, chiselled or hammered. These tools are made to ensure that they can withstand high temperatures.
Tongs
They are used to hold or pick up hot pieces of metal. Generally, they are constructed with steel or wrought iron and possess large and flat, smooth jaw surfaces that don't scratch the metals.
Step 3: Hitting
When it comes to blacksmithing, the process of hitting the metal with force isn’t as important as hitting it accurately to achieve the perfect shape. To do this, there are various tools and accessories that can help such as:
Hammers
Hammers are one of the most common blacksmithing tools and they come in different styles and various shapes and weights for performing a wide range of techniques for manipulating metal. Regardless of the type, they are used to strike the metal on the anvil to manage its movement.
Anvil
The anvil is a tool used beneath the object the blacksmith is hitting. Since these tools need to be incredibly durable to withstand tremendous force, they are often constructed with forged or cast iron. They rebound the hammer with a similar amount of force, making the task less strenuous.
The anvil often features two holes — the square hole or the 'hardy' that can hold a number of tools and the pritchel for piercing through metal.
Step 4: Shaping
The final step includes the process of shaping the metal and to achieve this, three fundamental forces are used:
Peining
Applying force to move the metal in a specific direction or to spread it in various directions.
Upsetting
Employing force to the metal’s end to shape it out and add more volume.
Drawing Out
Hitting the four sides of the metal repeatedly to elongate it.
Conclusion
Blacksmithing is an age-old tradition that is still widely used today. Whether you are an expert who wants to build your very own forge or a novice blacksmith, the steps mentioned in this guide are inexpensive and easy to follow for building a functional forge which will be useful for making all sorts of forged metal objects.
As you progress further and gain more experience, you can move on to building larger and more sophisticated forges for more complex tasks. Perhaps you can even open your own metal blacksmithing shop! Regardless, you will be able to get a good grasp of forging from this guide.
Frequently Asked Questions
How Hot Is A Forging Oven?
This can vary widely but most blacksmiths deal with average temperatures of 1400°C if they opt for a coal forge. However, how hot a forge get can vary depending on the type of metal you are dealing with, the type of forging and various other factors.
Every project doesn’t require a very high temperature and all types of fuel aren’t capable of reaching high temperatures.
What Kind Of Forge Do I Need?
This depends on your project and your capacity to build a forge in your home. If you have a large electrical capacity and deal mostly with smaller projects, induction forges will be the best option.
On the other hand, if you are a beginner, you should go for gas forges as they are portable and ideal for smaller projects. Lastly, coal or solid fuel forges are perfect for inexpensive setups and larger projects.
Each of them has their advantages and disadvantages, so make sure you research thoroughly before purchasing a forge.
How Do You Start A Blacksmith Forge?
The way you light a forge depends on what kind of forge you have. If you own a coal forge, you light it up the same way as you would a barbeque grill. On the other hand, gas forges need a lighting mechanism — you will have to use a propane plumbing torch or a welding flint lighter.
Is It Possible To Build A DIY Forge?
Yes! It is certainly possible to build your very own metal forge. Solid-fuel forges are inexpensive and you only need a few tools and materials that you can easily find in and around your home and garage.
For the hearth, which is the core of a forge, a BBQ grill would be suitable. On the other hand, propane-powered forges are portable and excellent choices for novice blacksmiths.